Wednesday morning start 9am
I was asked to make 2 frames for some very respectable martial artist, I was given the certificate dimensions and the rest was left to me. Here is my design. (SketchUP for iPad)

I milled this walnut a few weeks back, while in my shop in Tappahannock.
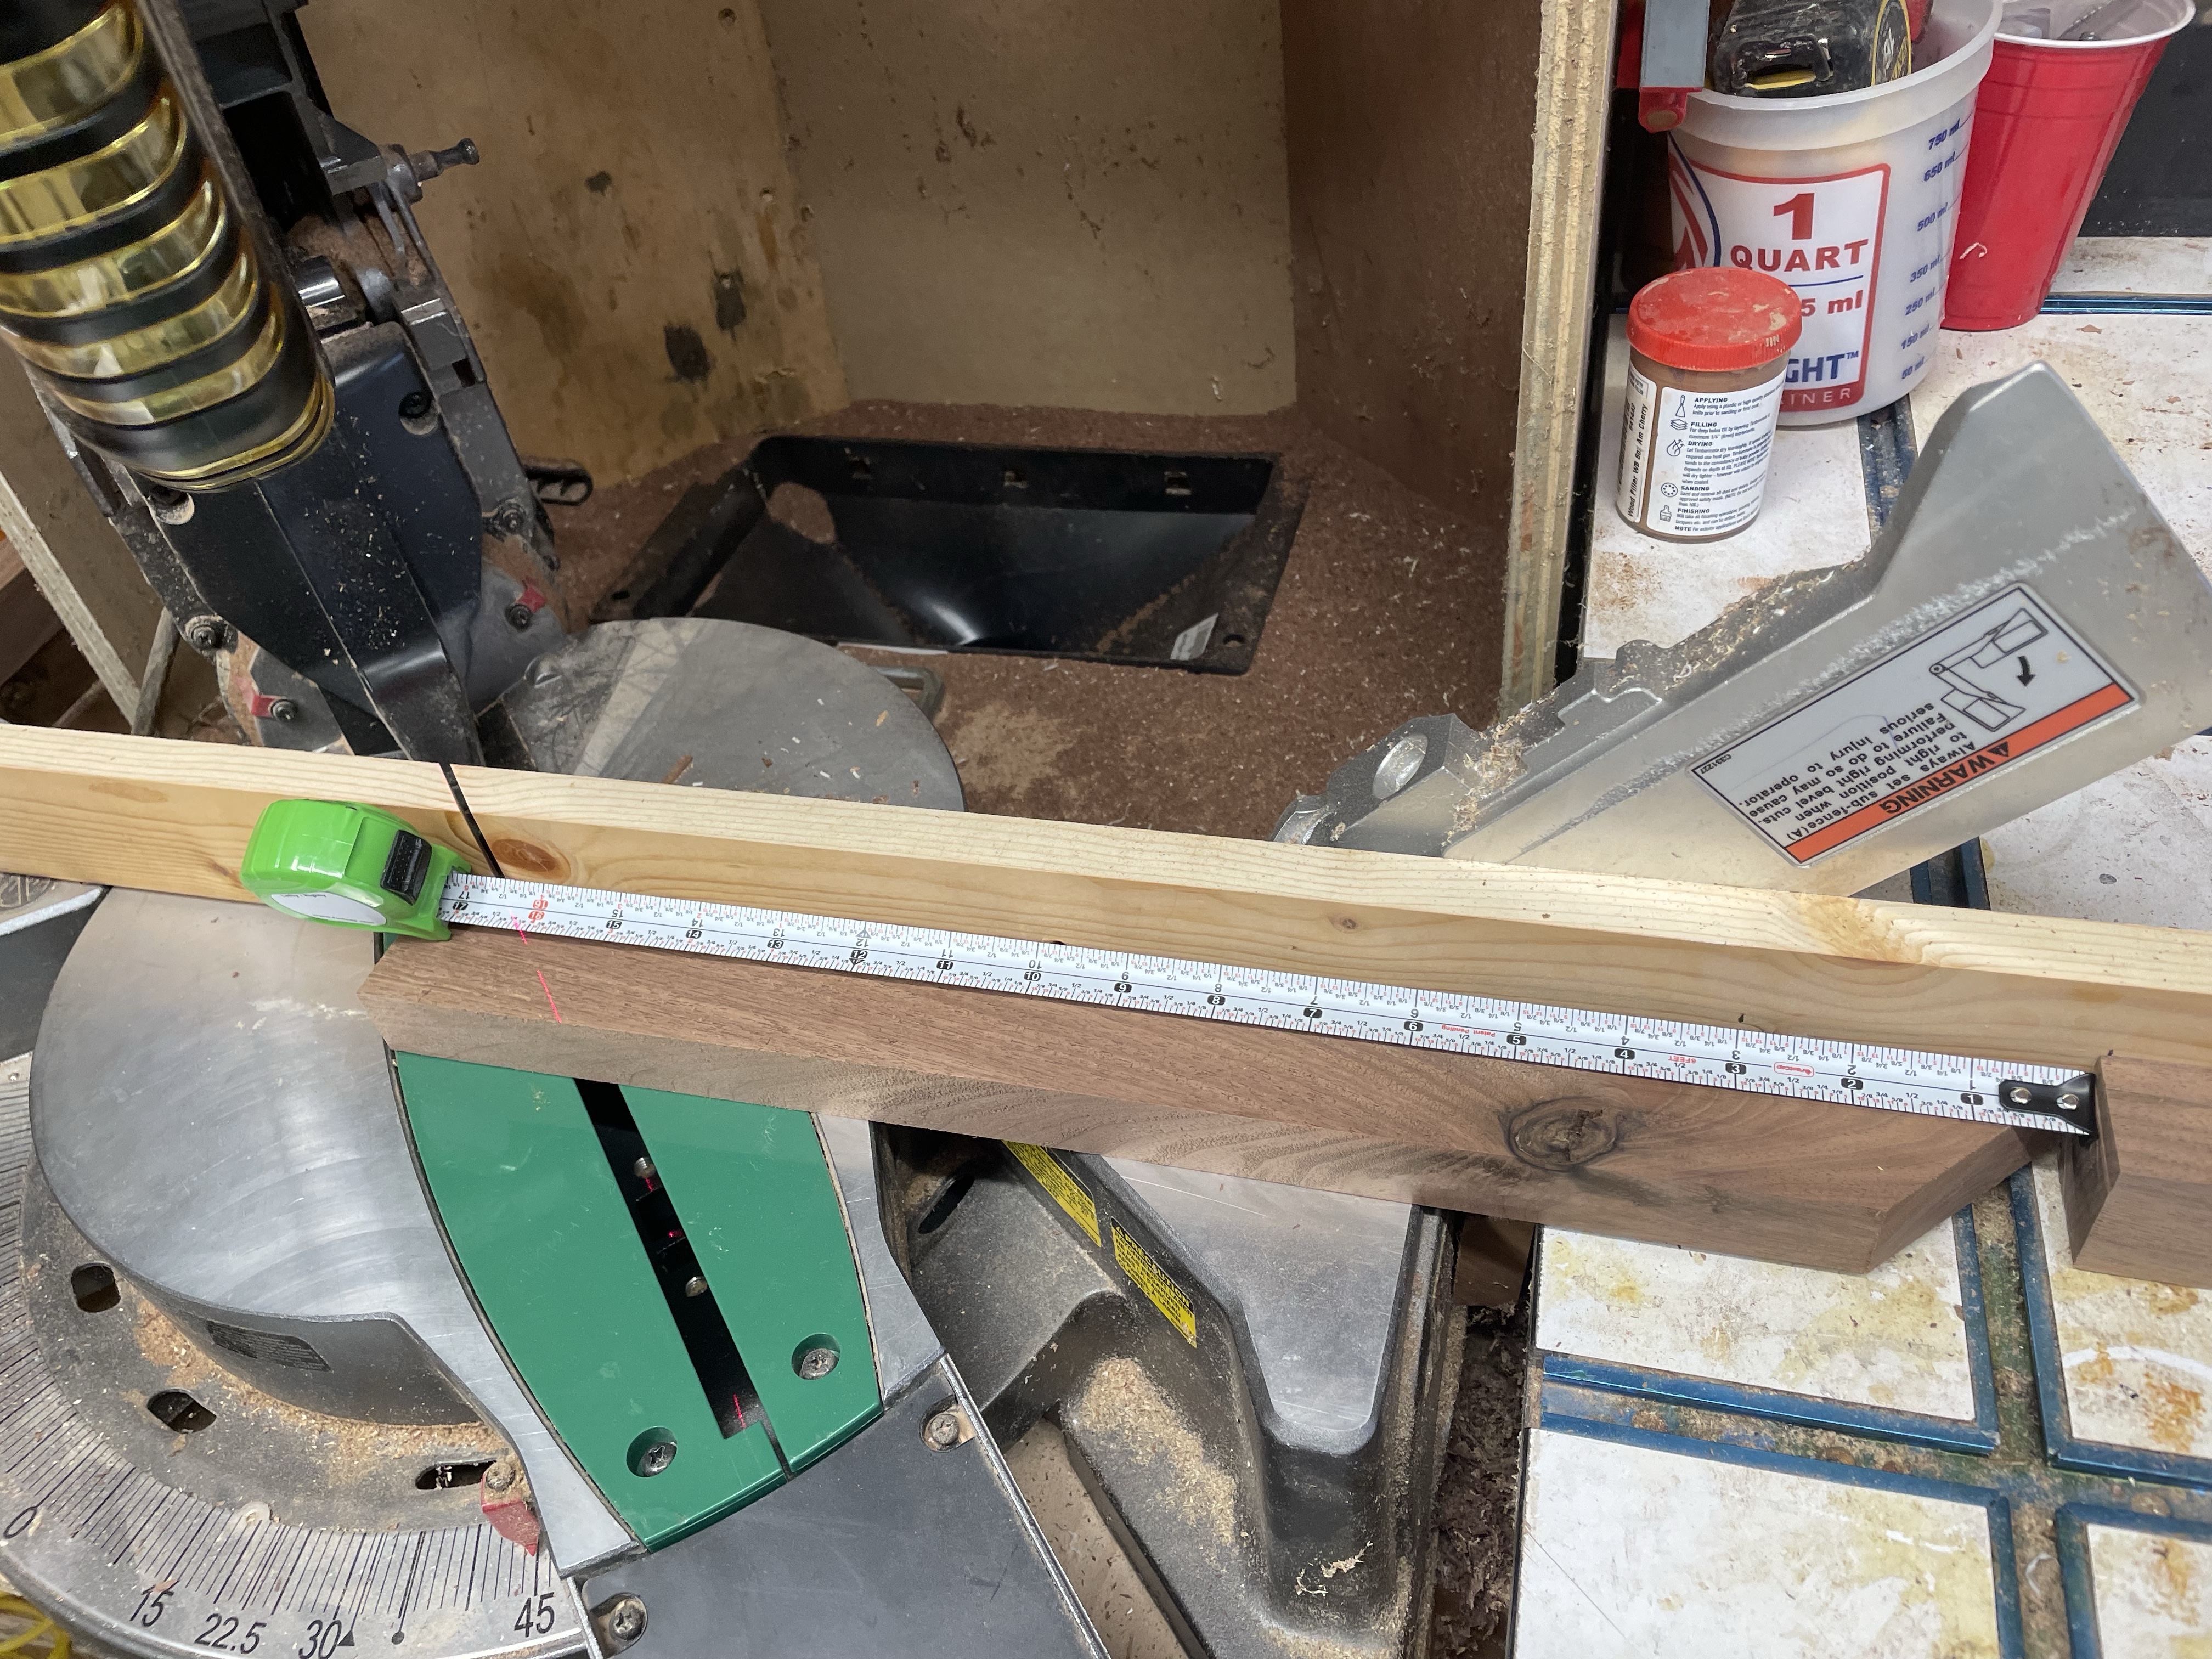
Back home in my lil shop it’s time to cut it to the final dimensions.


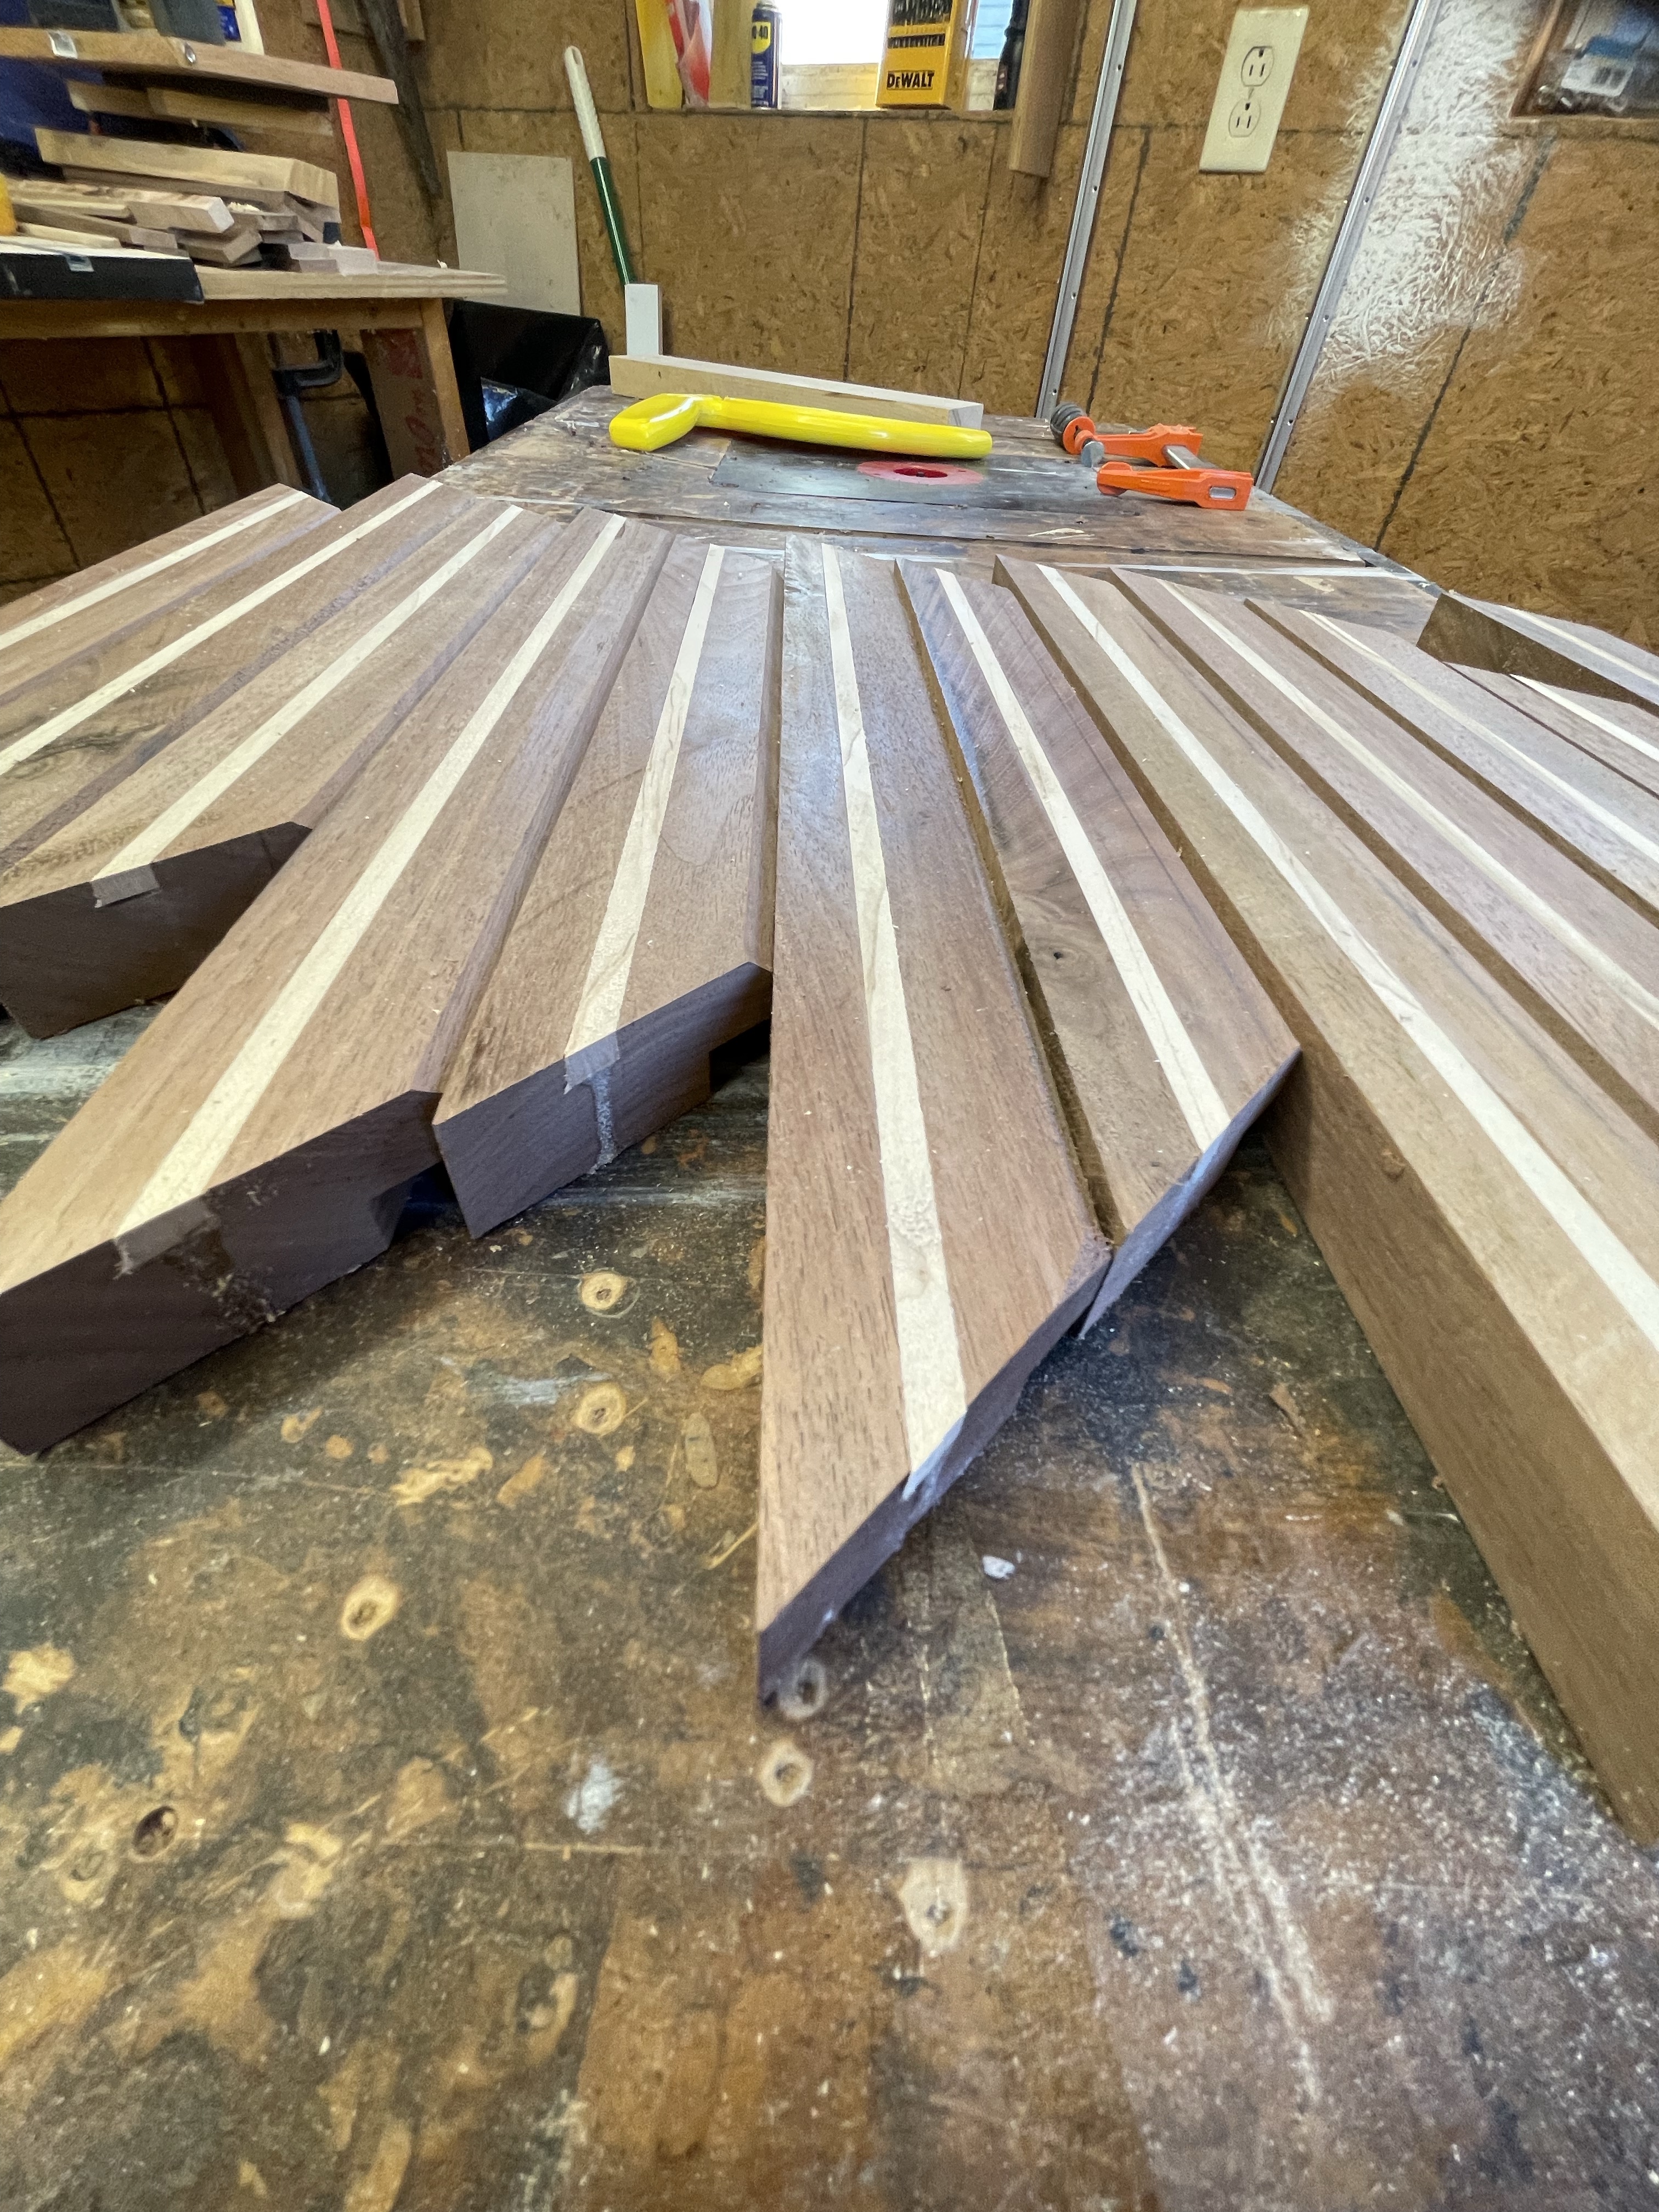
I used the chop saw for crosscuts and table saw for ripping. The final dimensions needed is 1x 1 3/4 then by 16 3/4 or 13 3/4. Since the board was a tad over 1 1/2 thick, I ended up with some spare half inch thick sections for my scrap.

Attaching a sacrificial board to the chop saw adds accuracy and repeatable cuts.
Once the distance is determined add a stop block then cut all to the same length.

3 frames? Yes insurance, and it’s easier to make in batches.
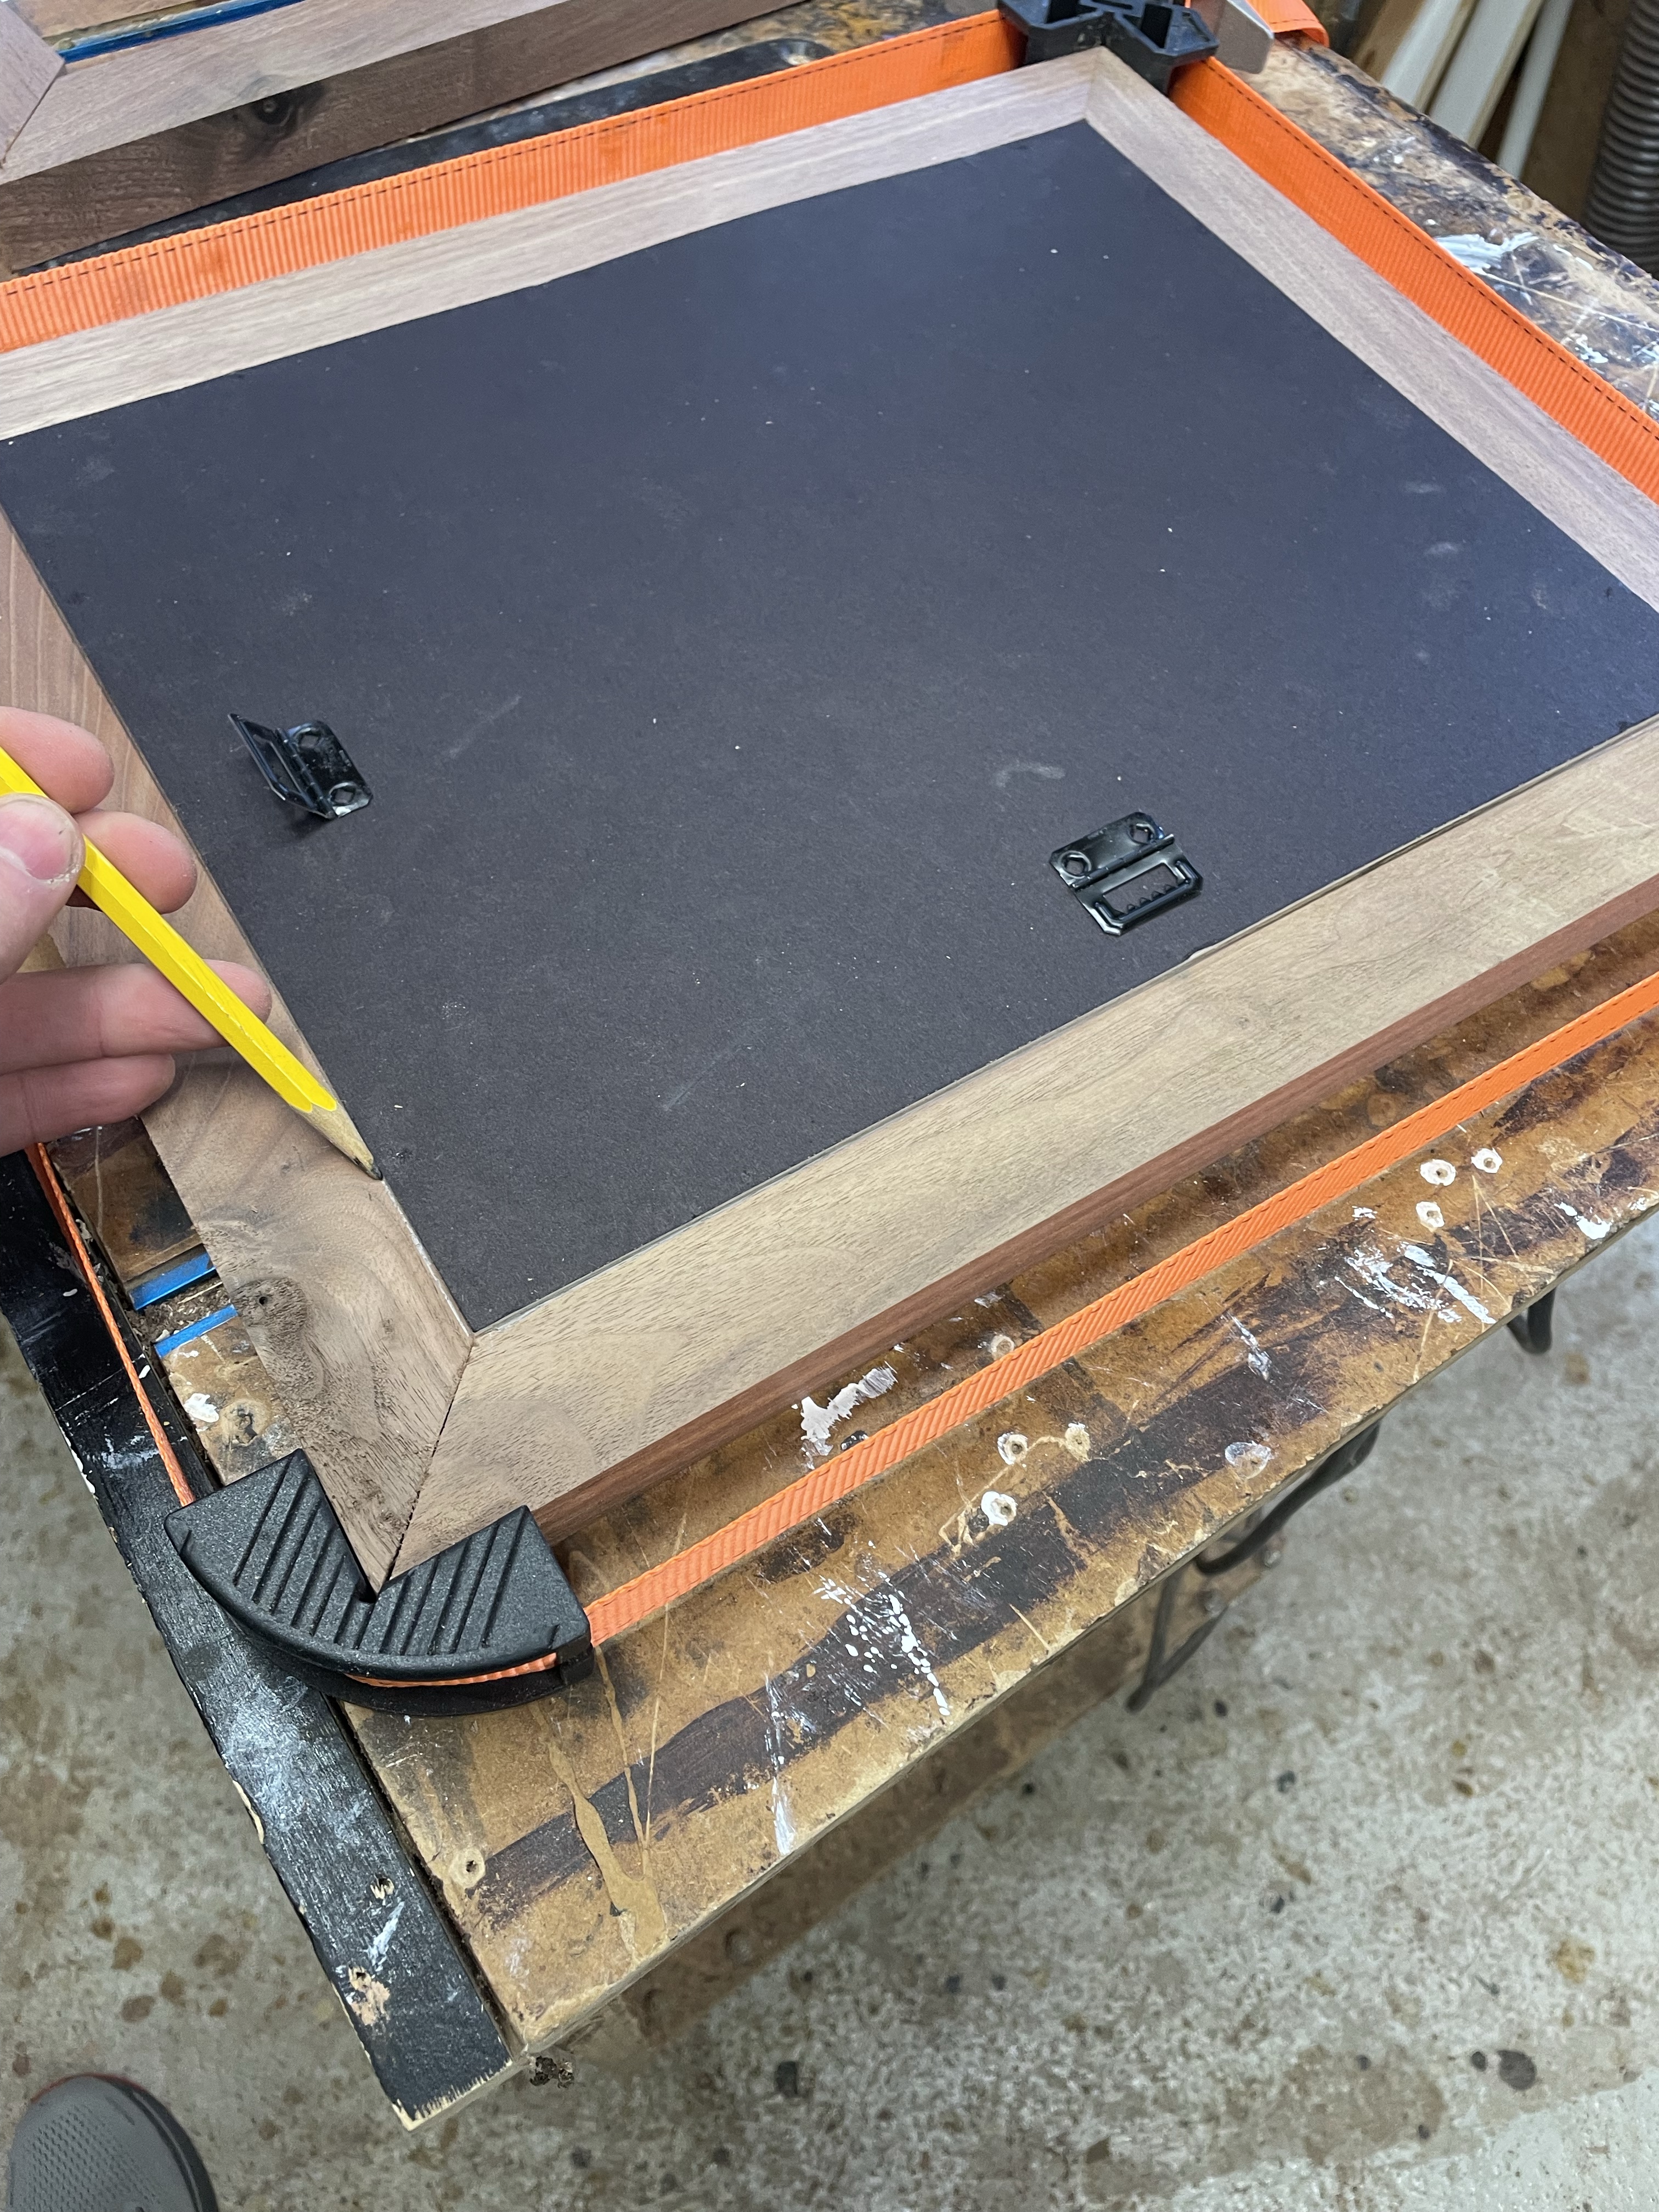
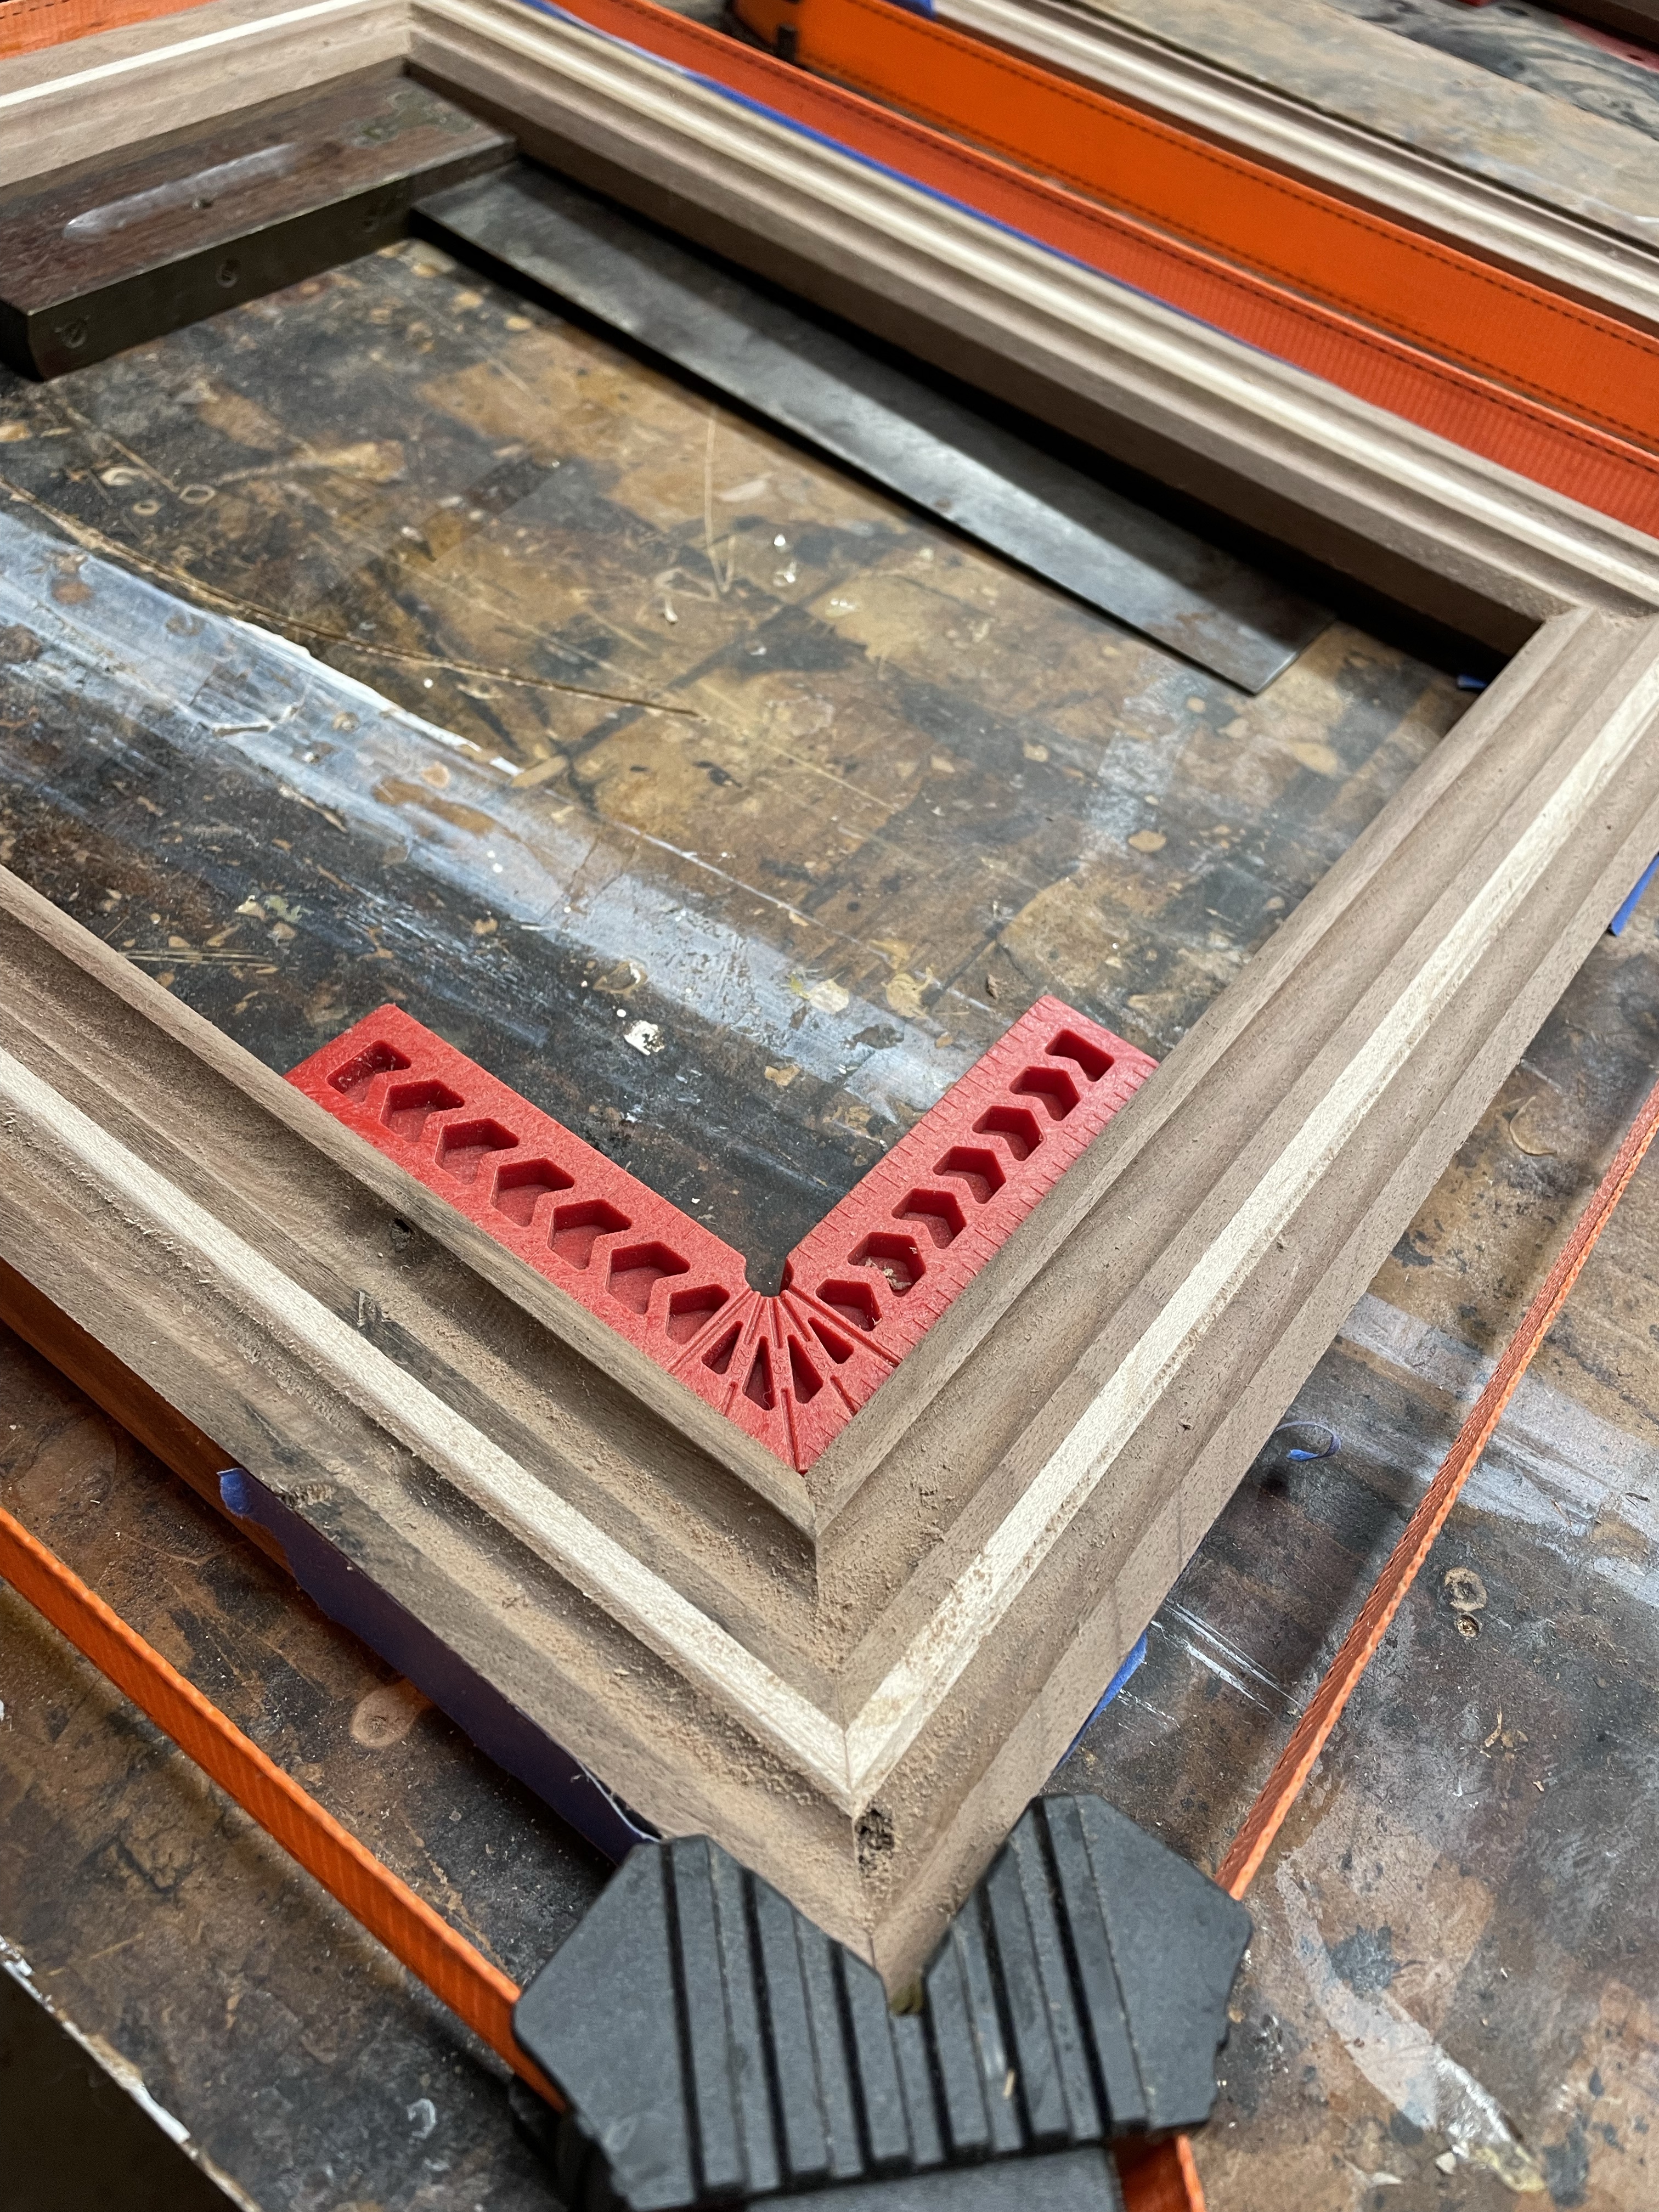
Lay the backer on the frame, I’m using a strap clamp to hold it steady. Line the corners to the miter line then score the frame.
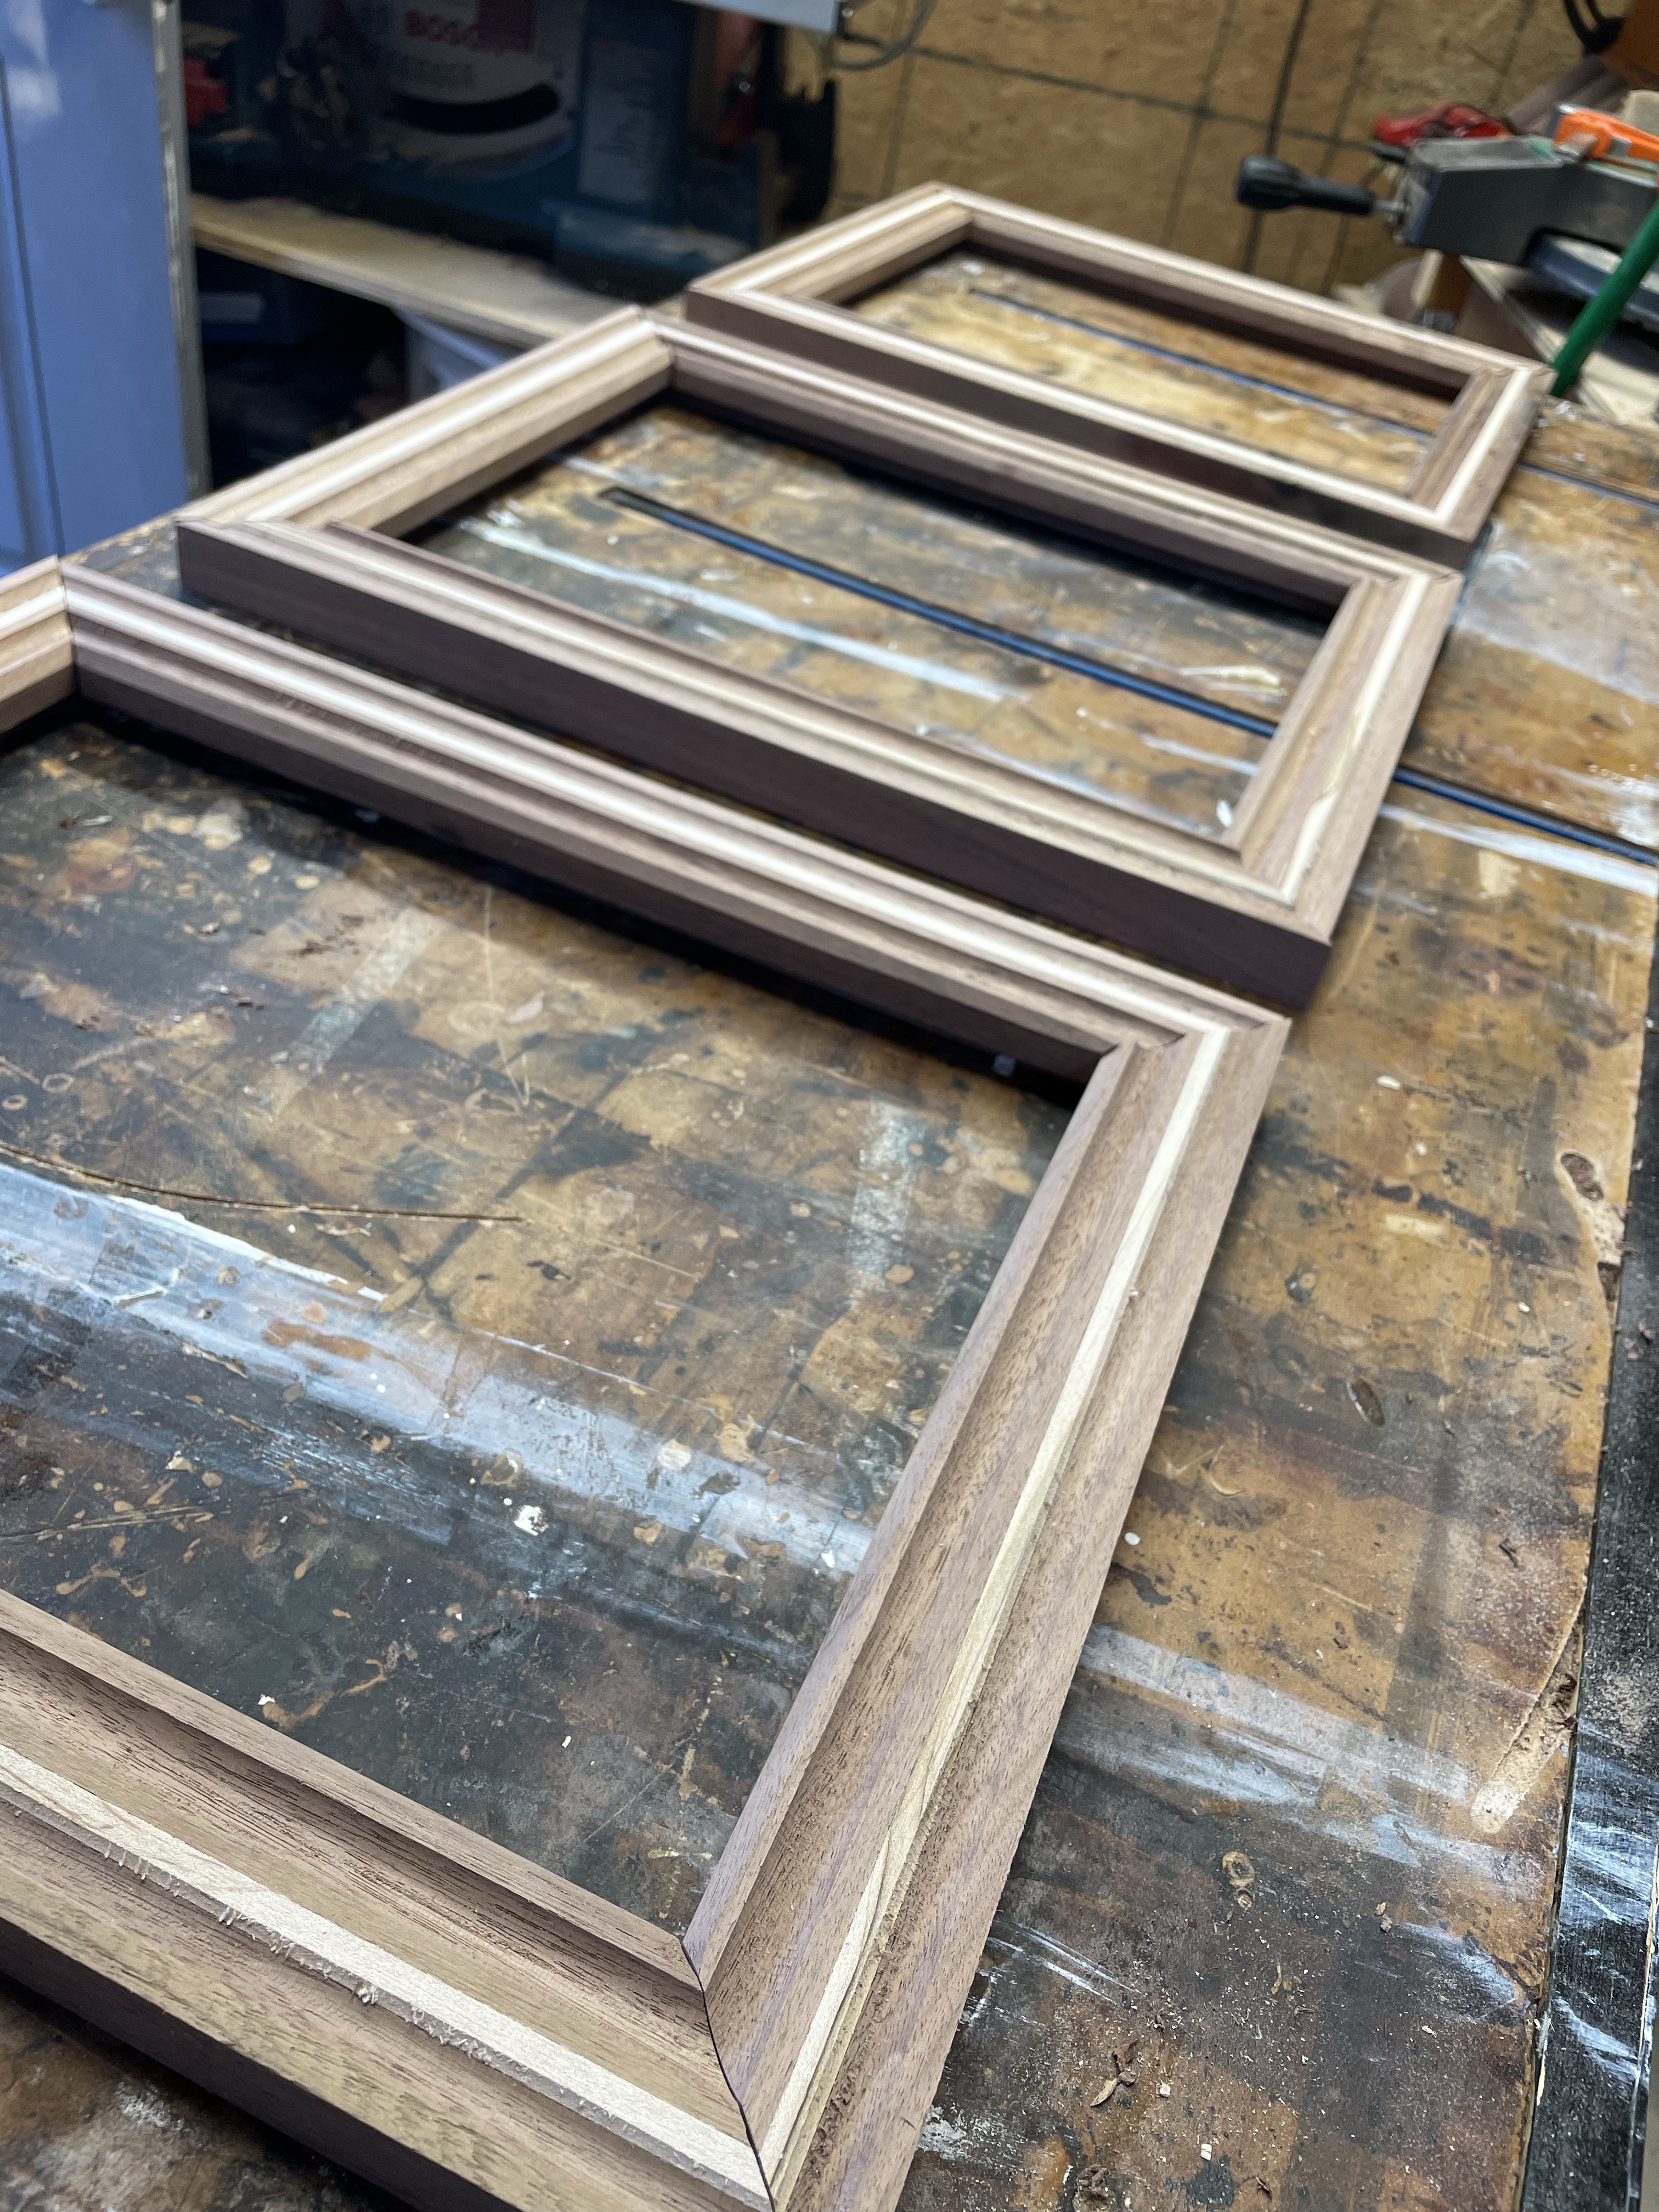
Change the blade in table saw to a flat tooth dado stack then cut a 3/8 thick rabbet


Cut on the score line to make the rabbet (this is where the art, glass and backer will get seated)
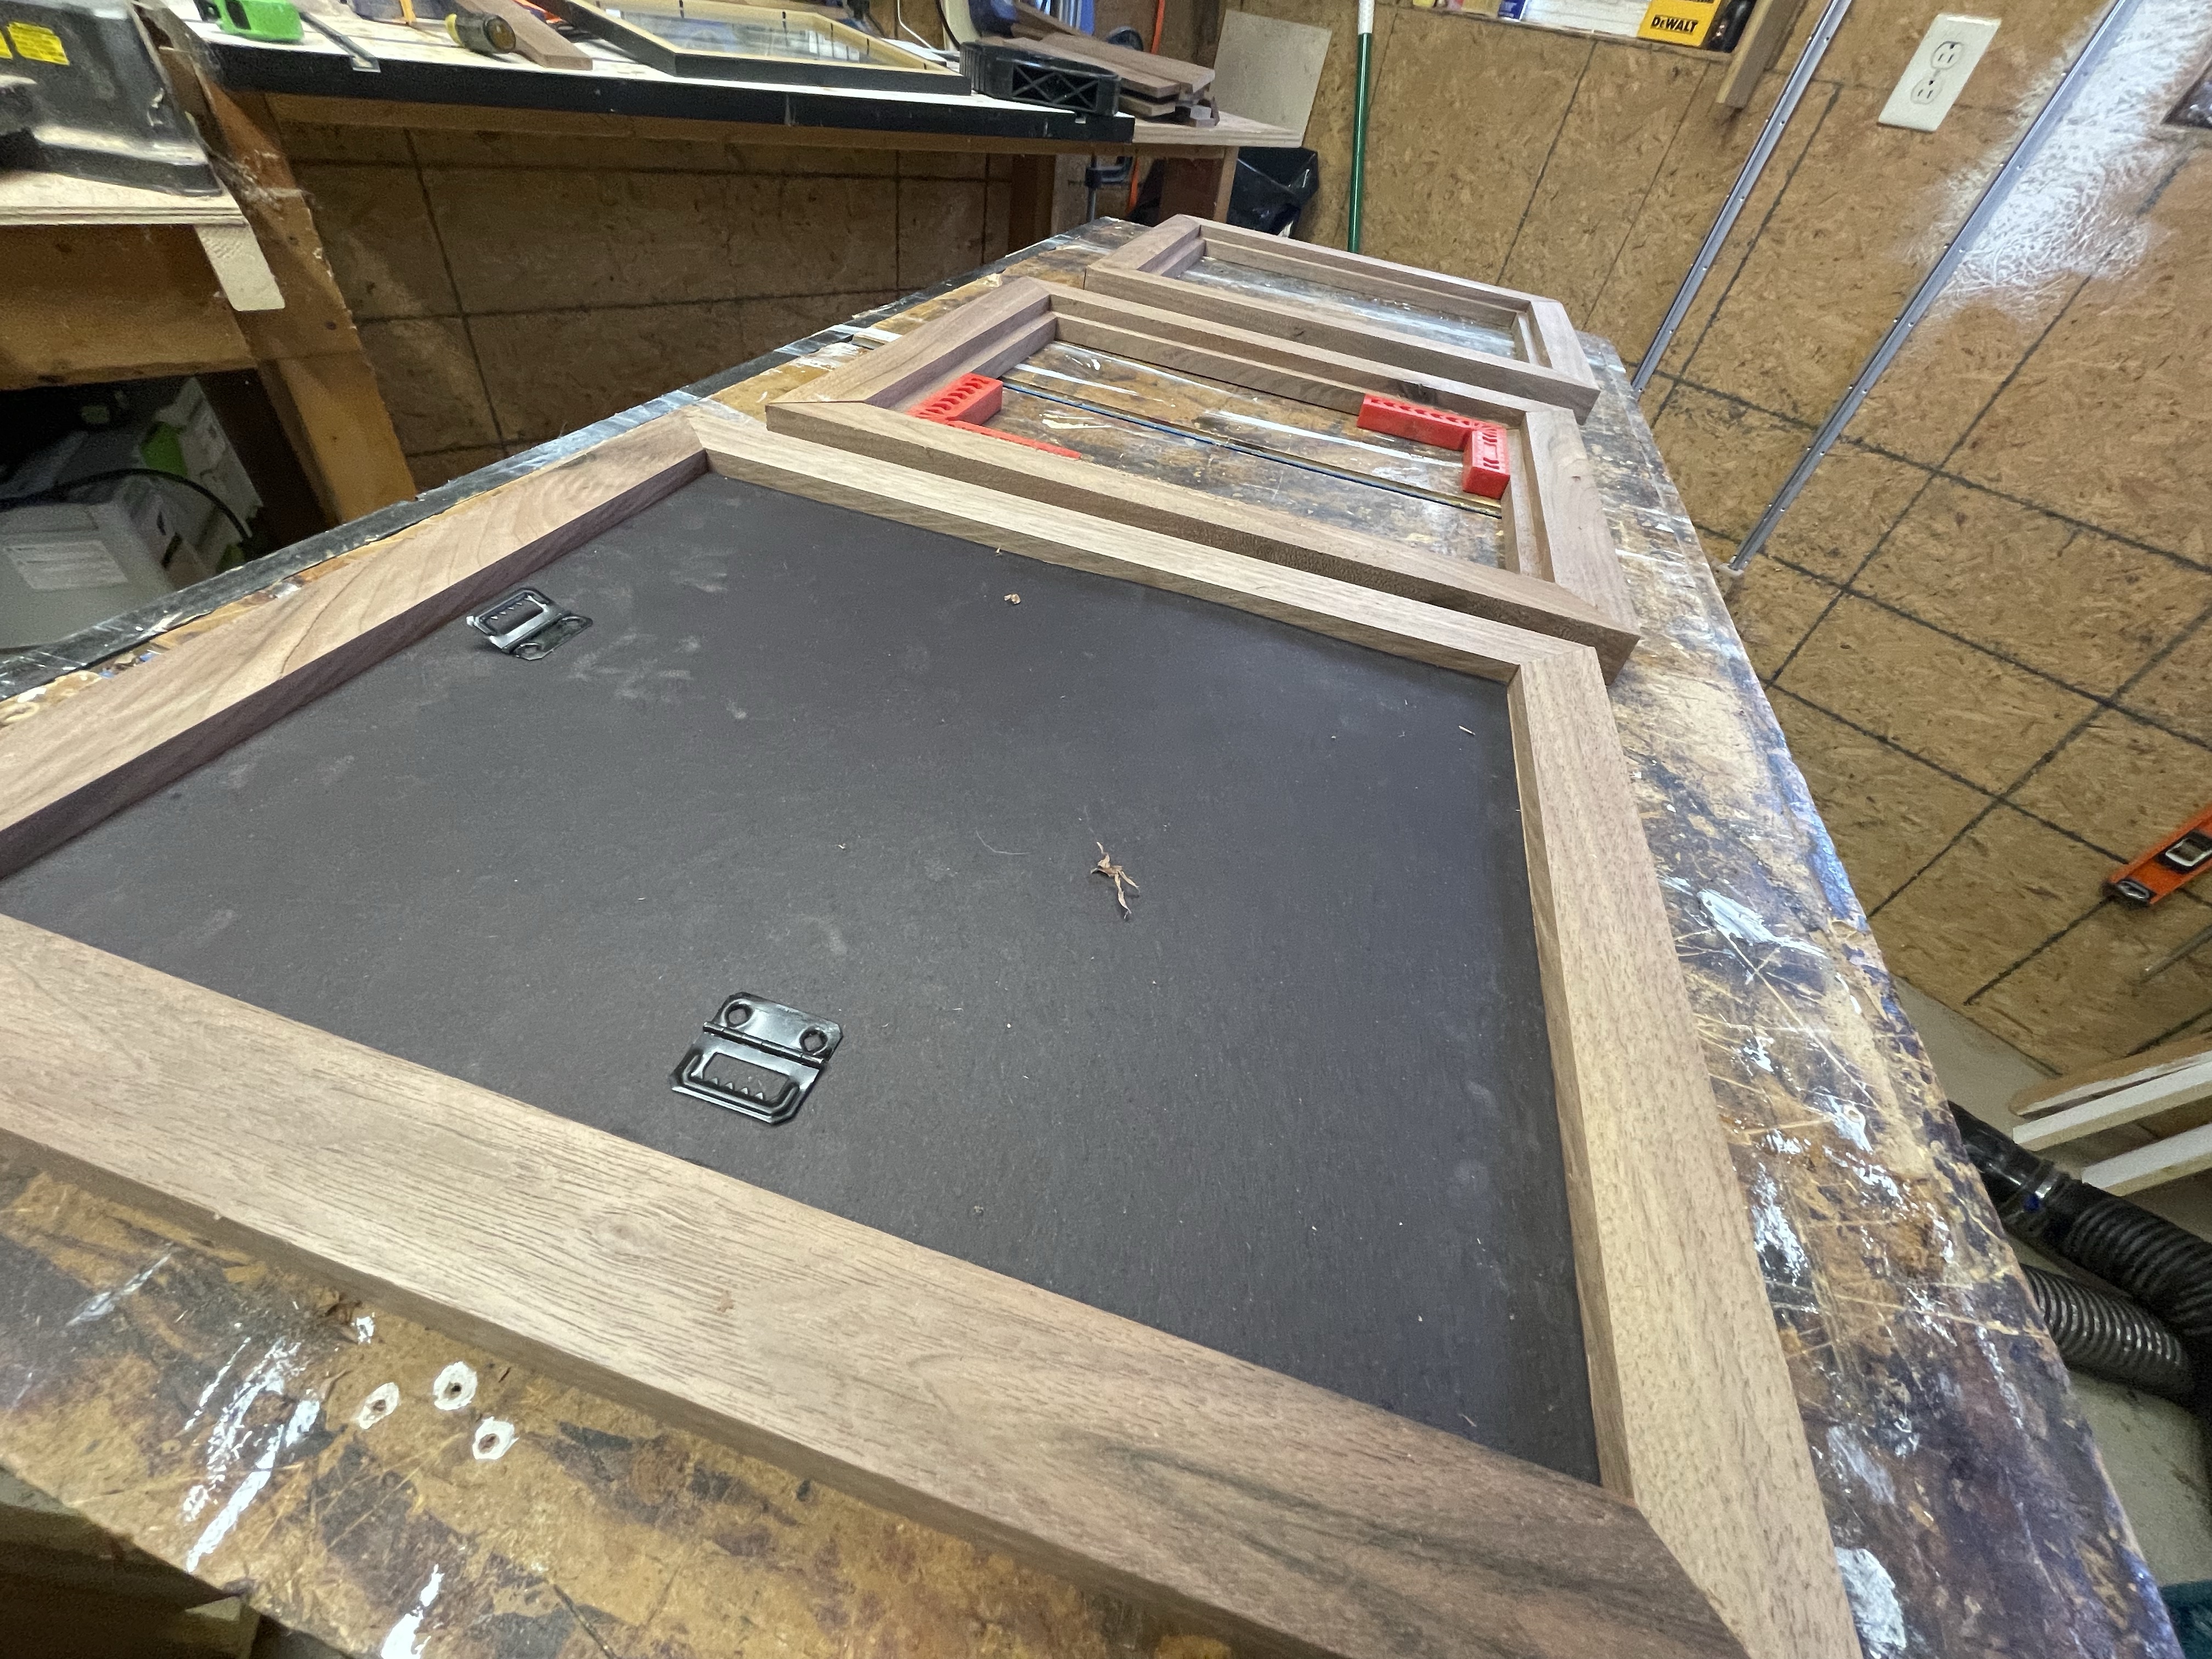
Test, the fit.
My Whiteside router bit collection and my home made router table. I’m all set to change the bit. Now to add a chamfer to the inside of the face of the frame.


Got my dust extractor set up and I’m ready to make the cut.

Flip it over and admire the results.
Wednesday morning end time 11am ( 2 hours to this point)
Finally back in the shop
Sunday start time 1:15
Now to add the maple inlay. First cut a 1/4 wide dado. I used a flat tooth dado stack on the table saw. Easy and quick.


Cut the maple to size; I used my thin rip jig – set to the same width as the dado.

Glue the maple inlays into the dado.
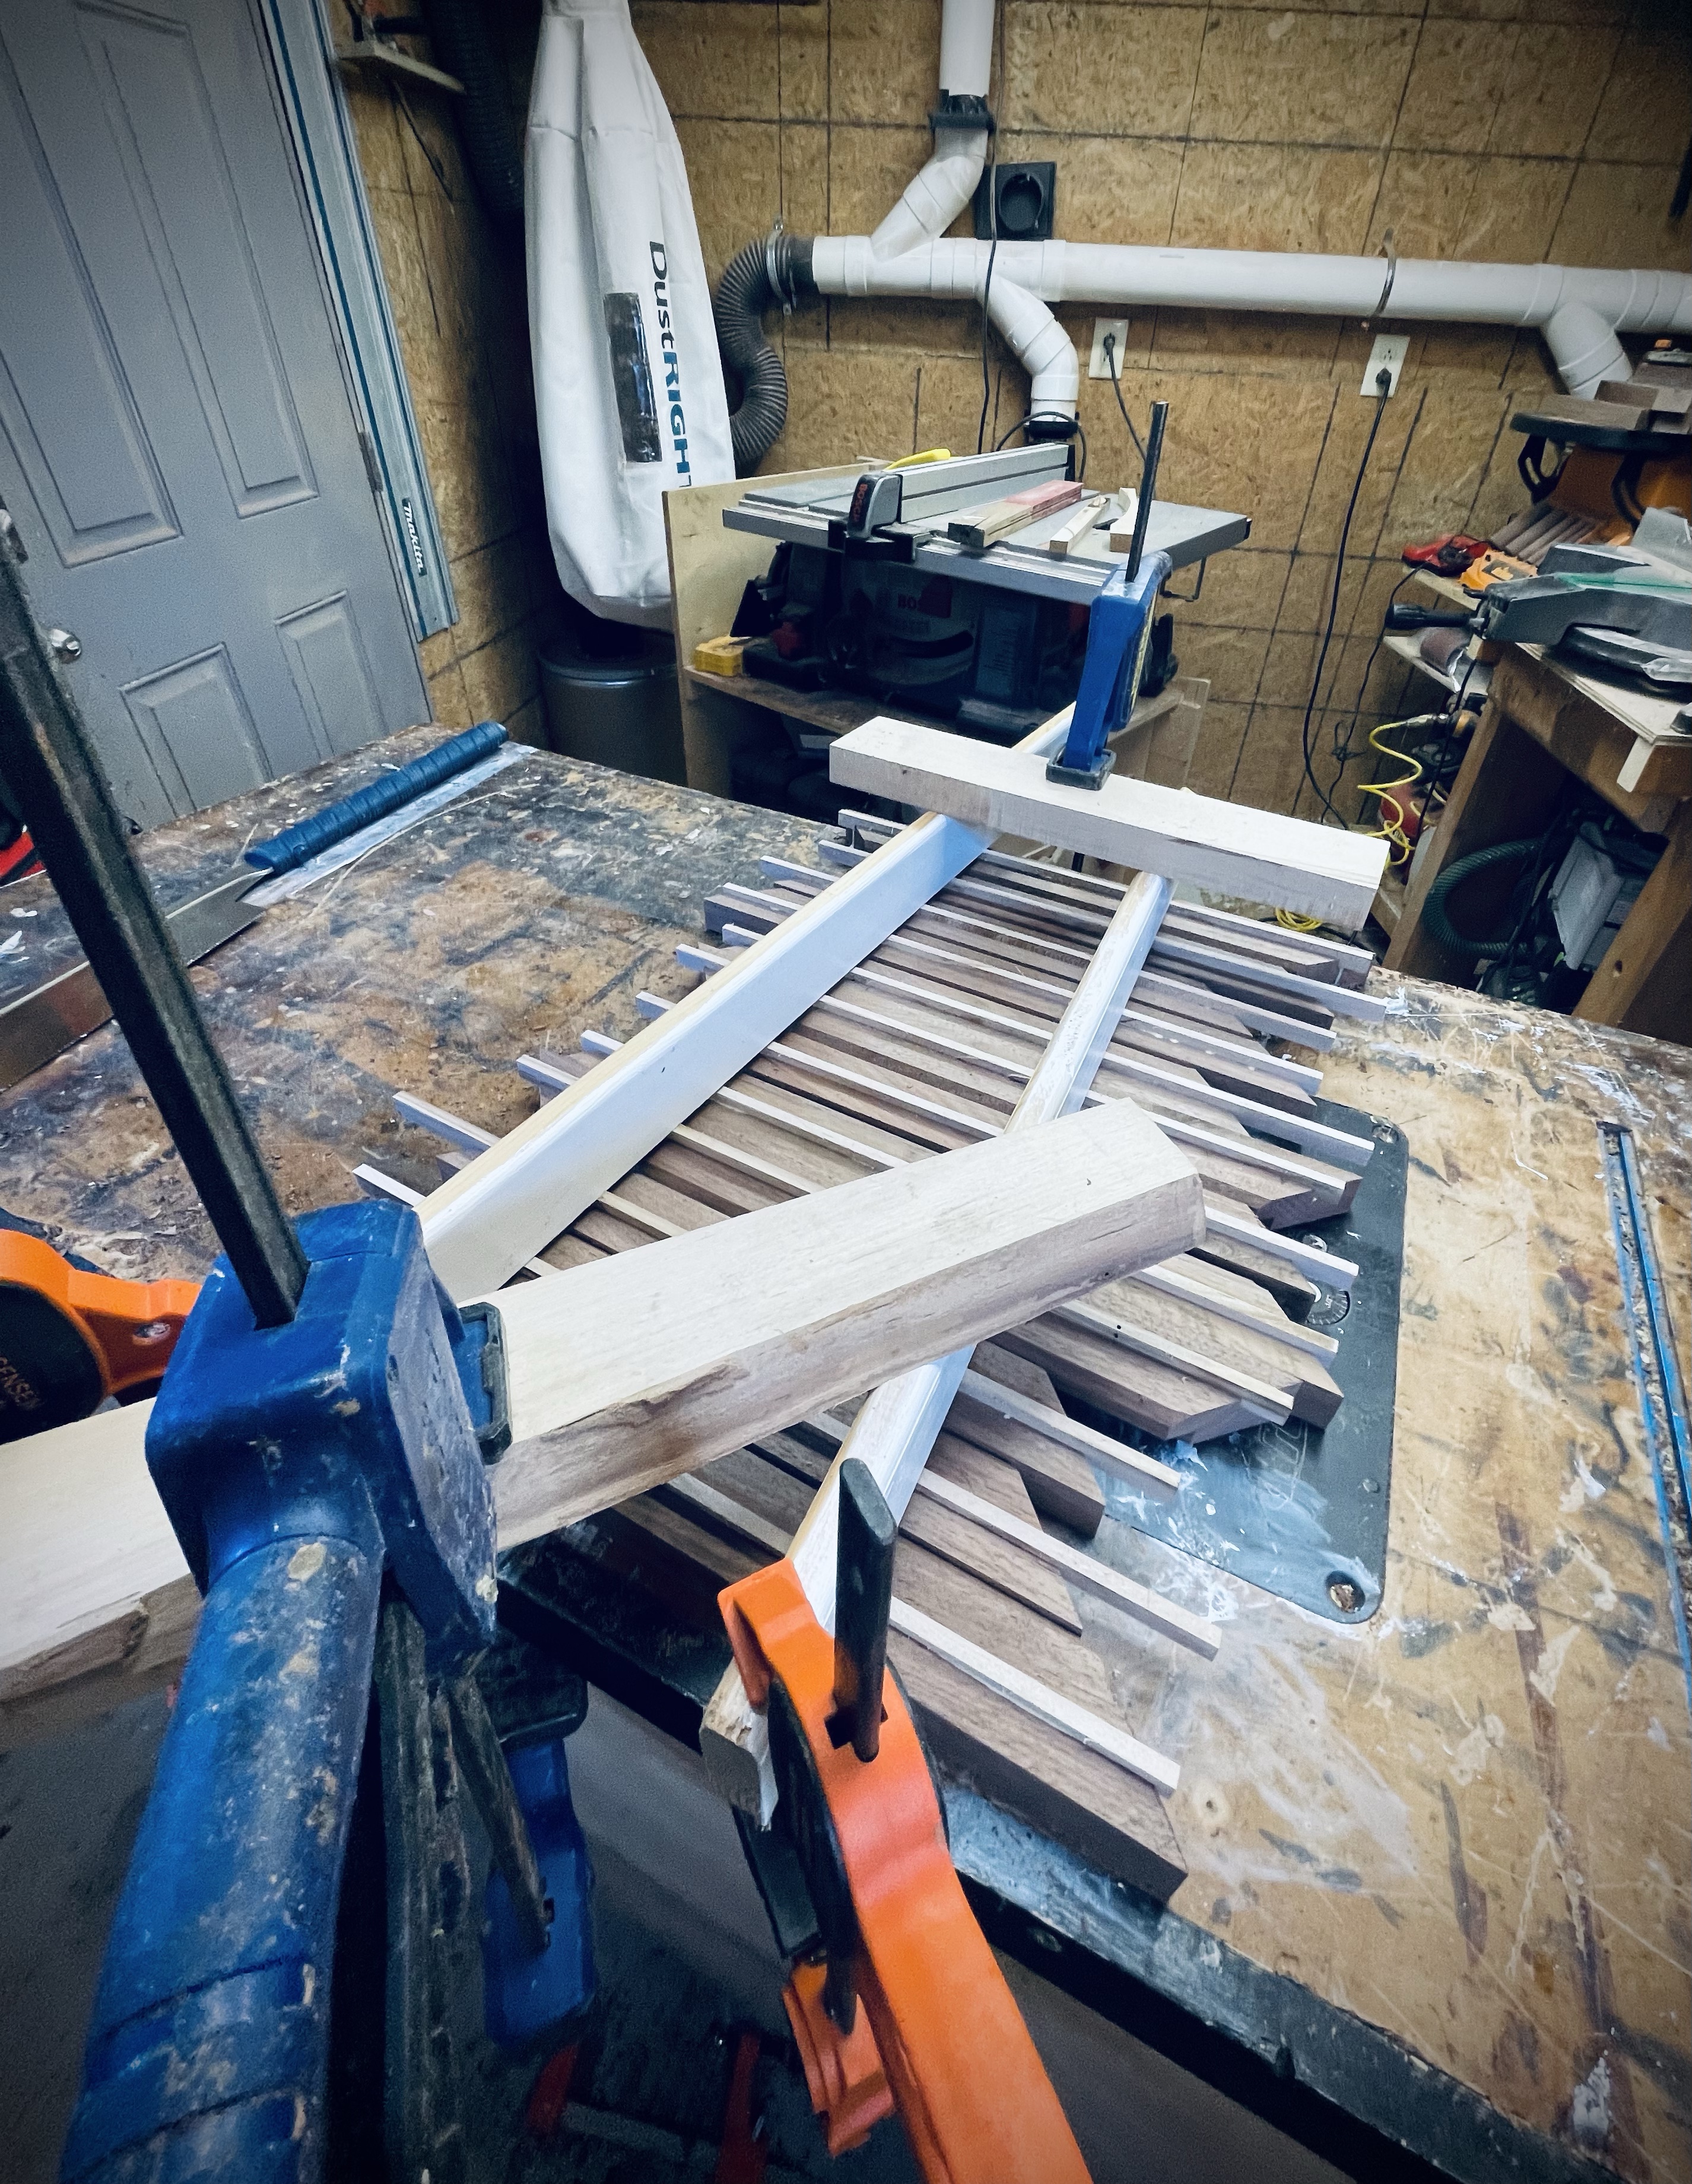
I amuse myself with my clamping solutions at times. While the glue sets up, I did some yard work.

Cut off the excess maple for a flush finish. I used a feather board to keep the stock tight to the rip fence.

A close up after the cut.
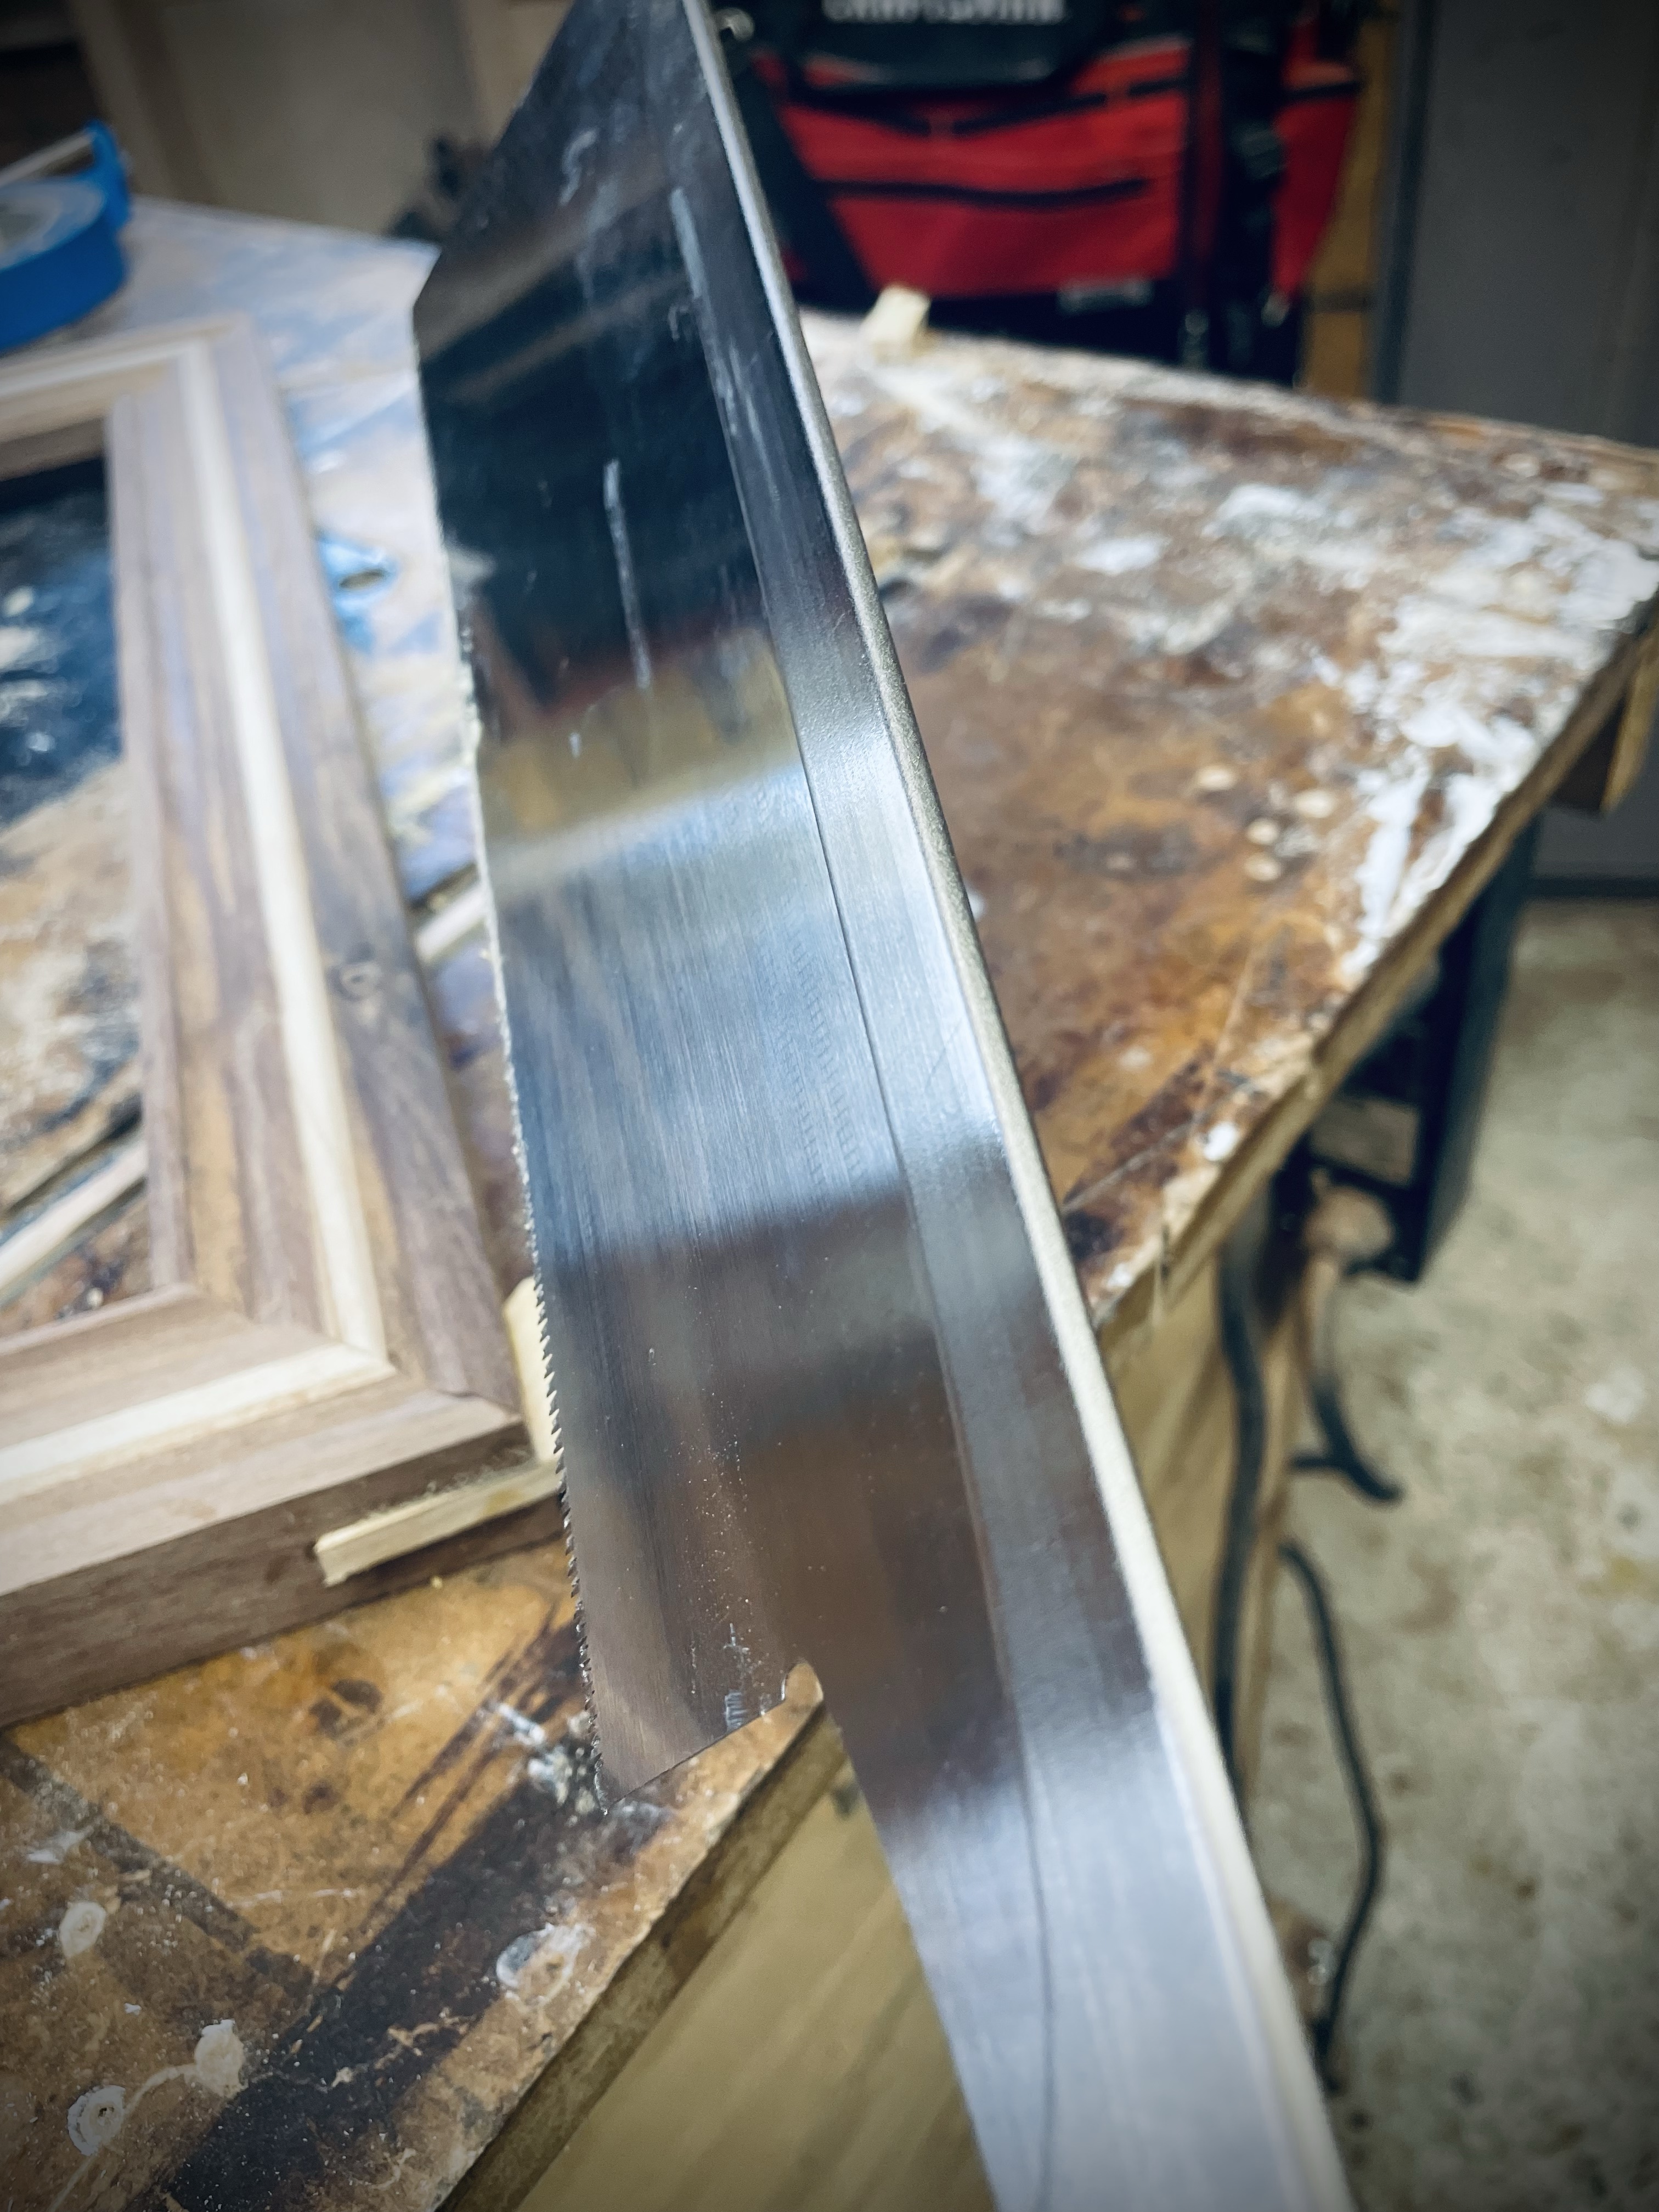
A pull saw takes care of the extra length of maple.

I love the maple walnut combination. However the flatness of the frame is not what I want. In the next video watch how I use my router table, to add decorative curved dado’s.
Using a Round Nose router bit and a fence (this bit does not have a guide bearing) to cut the decorative cove.
I ran two coves at different depths. Next step sanding…
The belt sander makes this easy.
Unfortunately the coves in the stock required hand sanding.
A beautiful miter joint! I used a strap clamp to apply even pressure while the glue sets up.

Sunday end time 5pm
Monday 9am start

Using my spline jig to cut a dado in the corner of the frame.
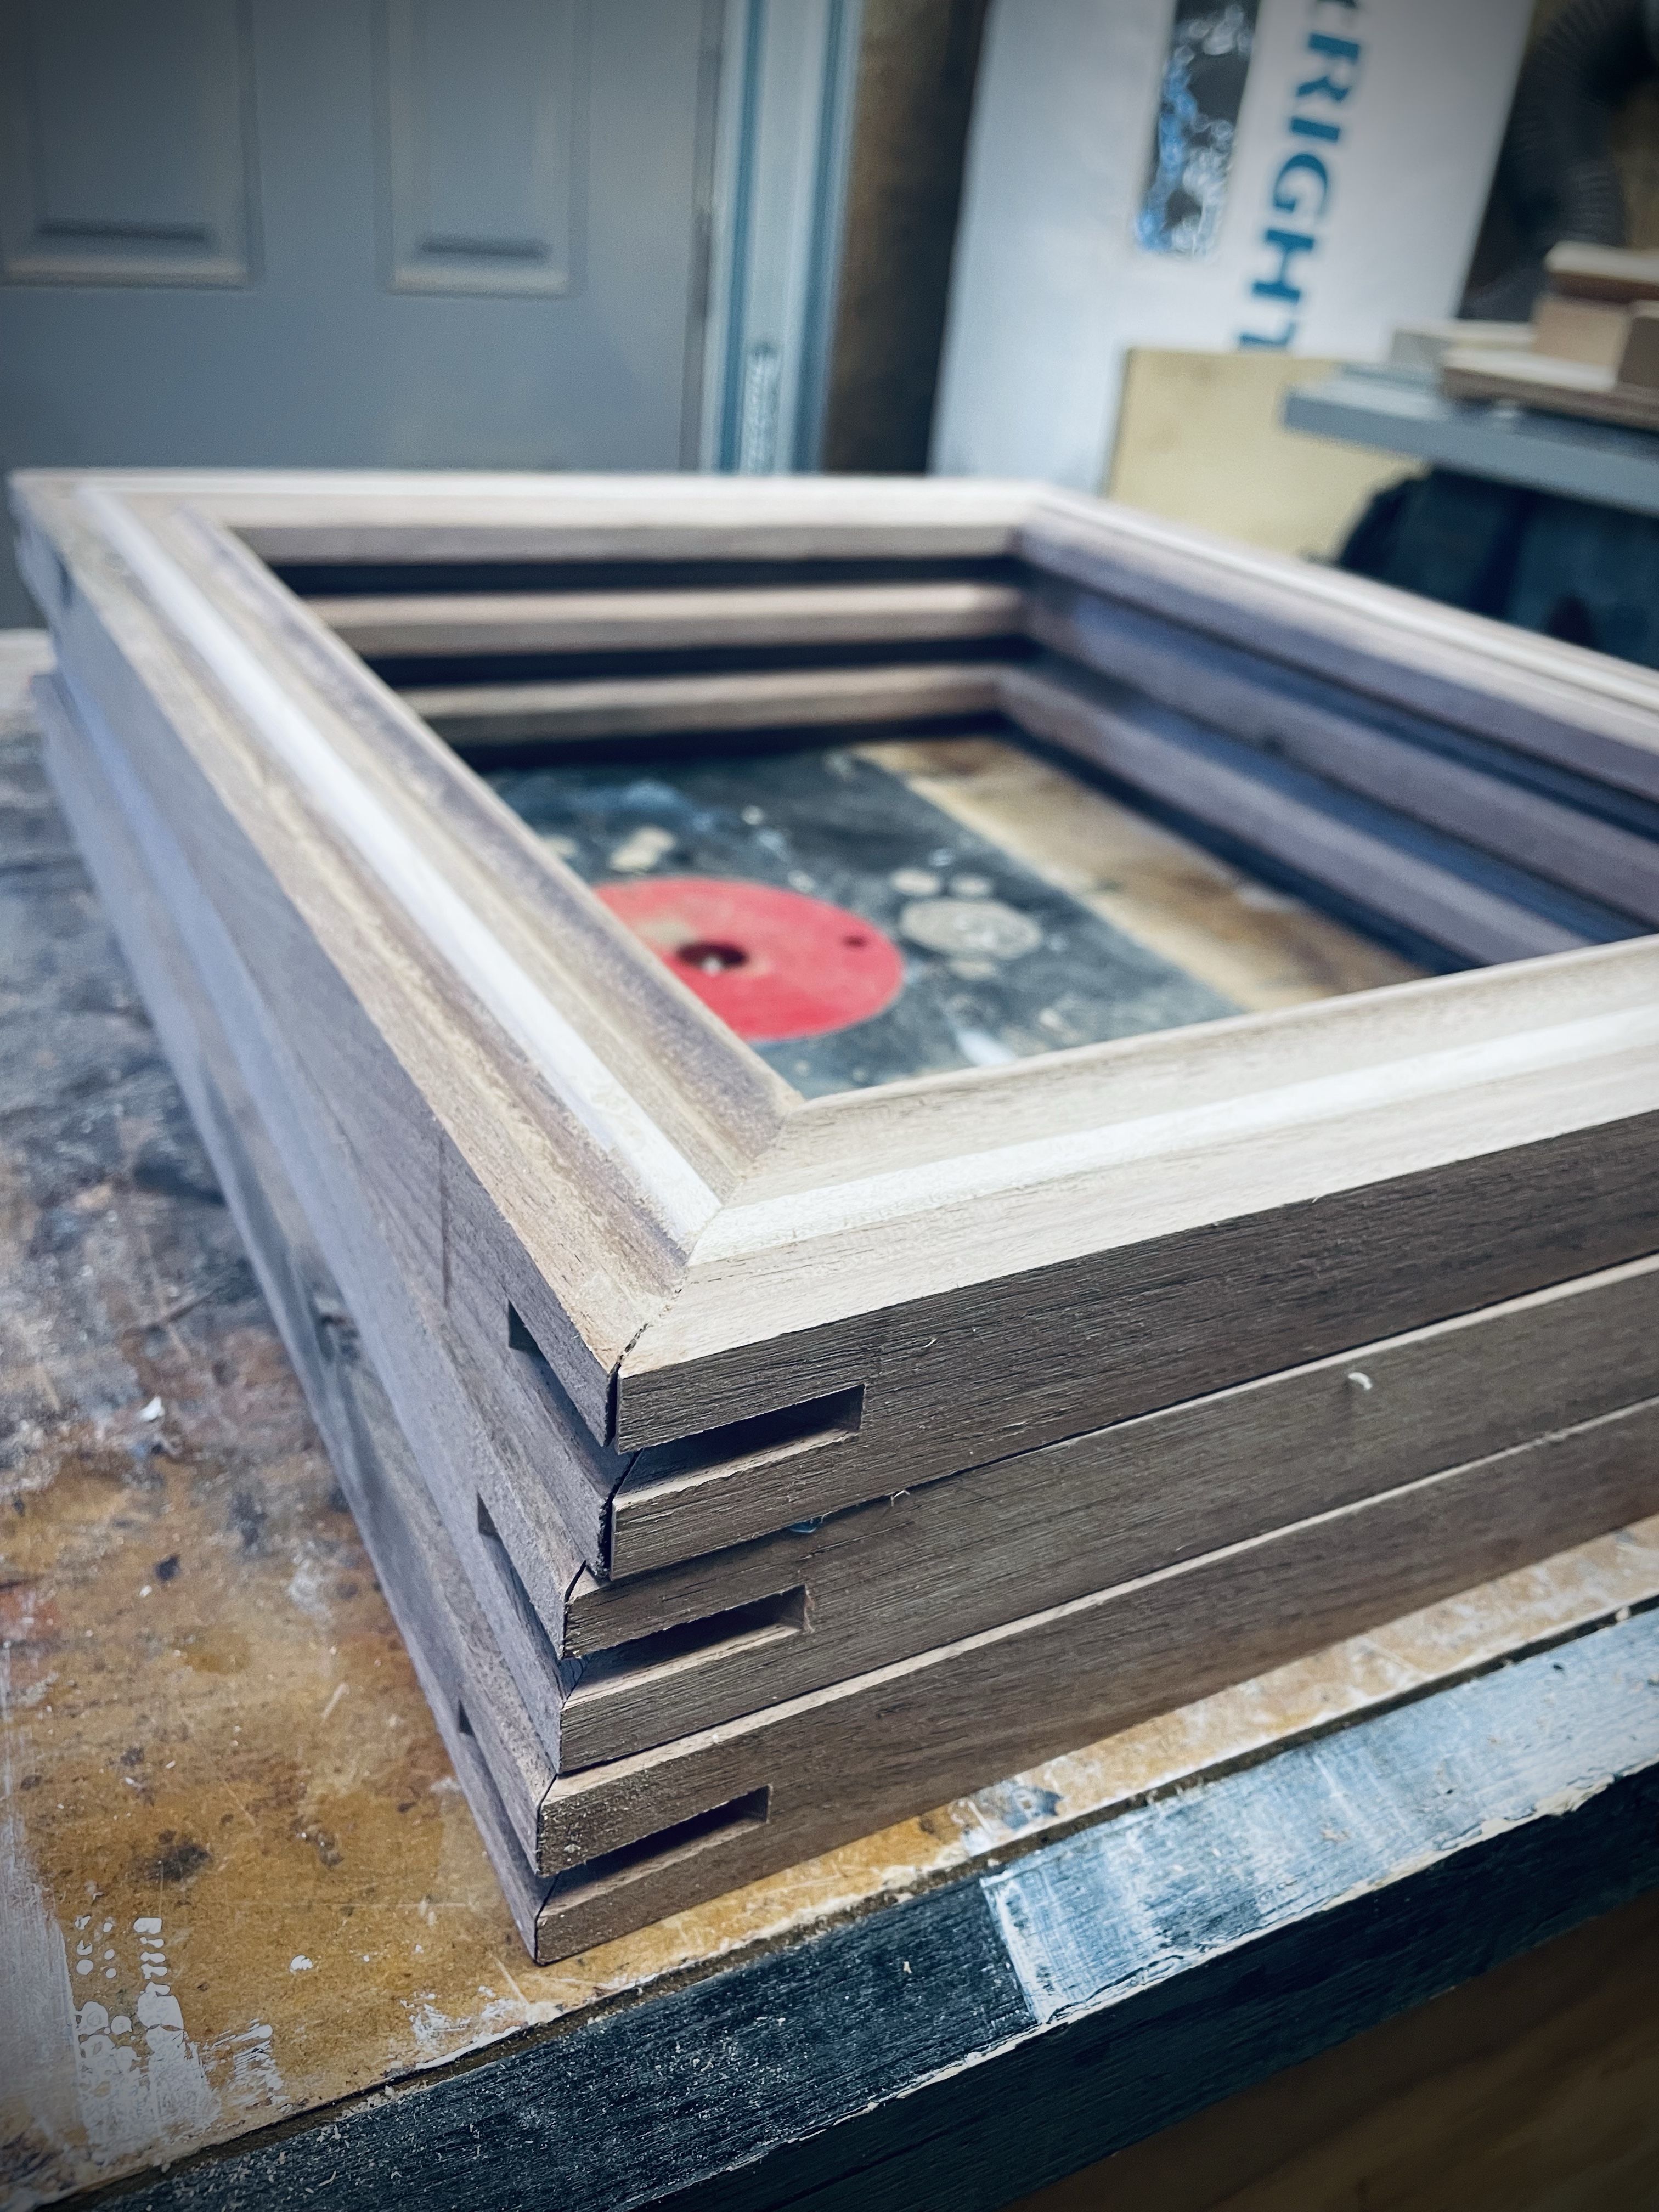
This adds a functional decorative touch. The spline adds strength to the corner.
Glue in some maple.

Cut down with pull saw

Love how this turned out.
The presenting of the certificates with custom frames.


Leave a comment