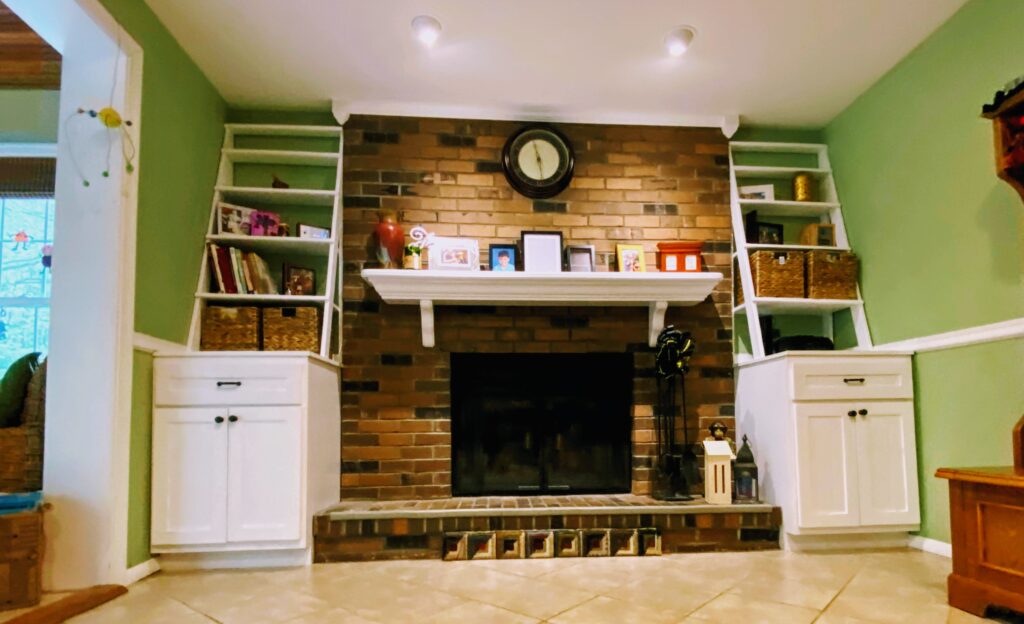
A friend (Ali) reached out to me with a few drawings, the goal? To make better use of the space beside her fireplace. We exchanged ideas, me sending her an ideas from Sketchup and she would send back another drawing, and soon enough we settled on a plan and started the build. I worked on it in stages starting first on the base cabinets, then a few weeks later I made the upper shelving.
Ever notice that brick walls are not necessarily even? One pays more attention to these things when the goal is to have a flush cabinet sitting between it and the adjacent wall. So to get a perfect fit I made one unit 23.5 inches wide and the other 24 inches wide. I’m not going to bore you with a play by play of the build, but check out the galleries below as there were no shortcuts in this custom build 🙂

Before
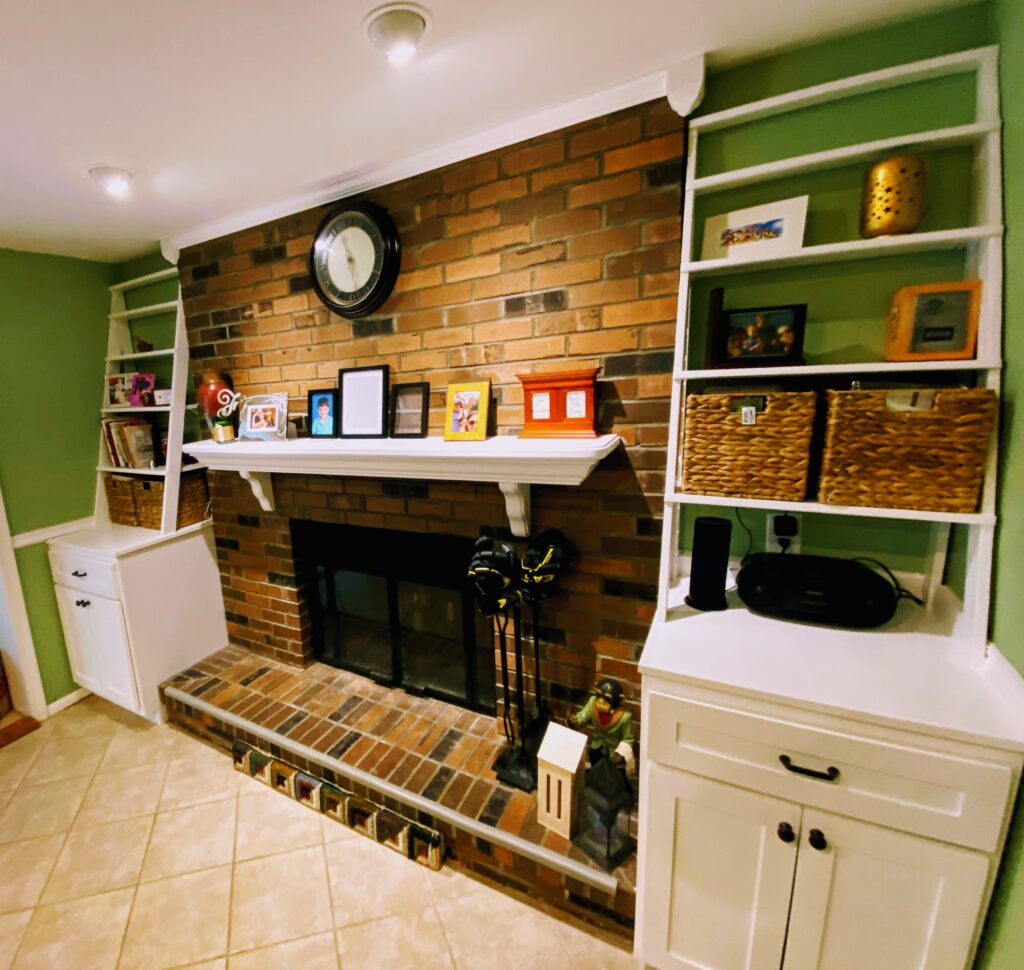
After
The Base cabinet build:
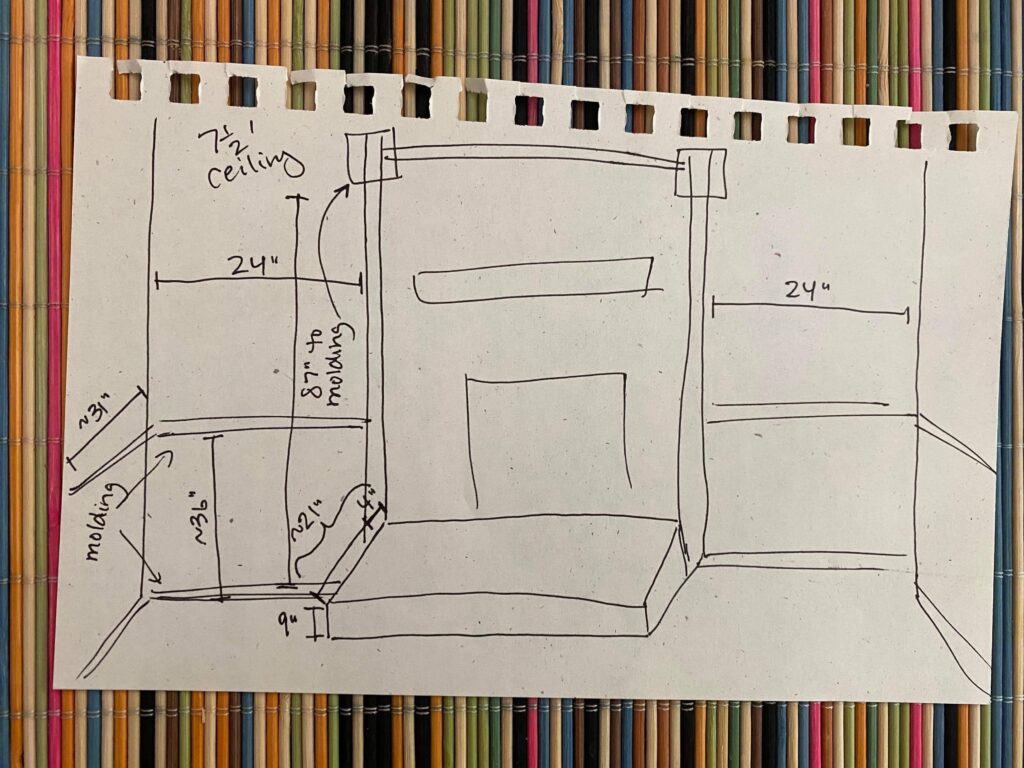
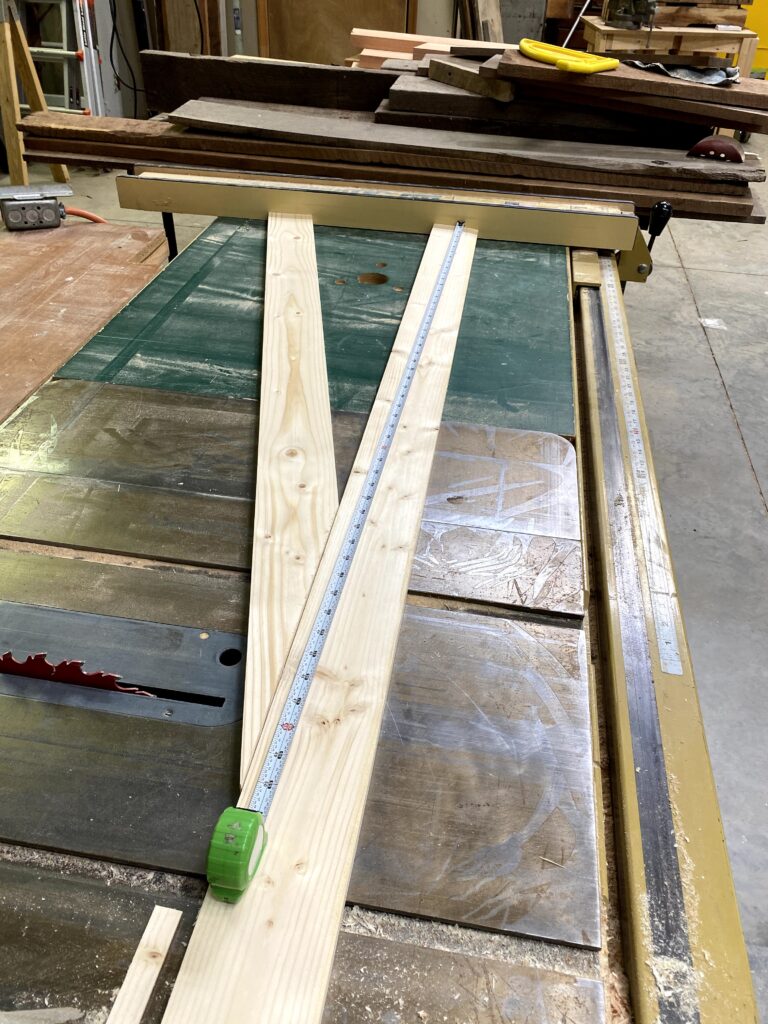
the plan 
make a box 
the face of the cabinet (faceframe) 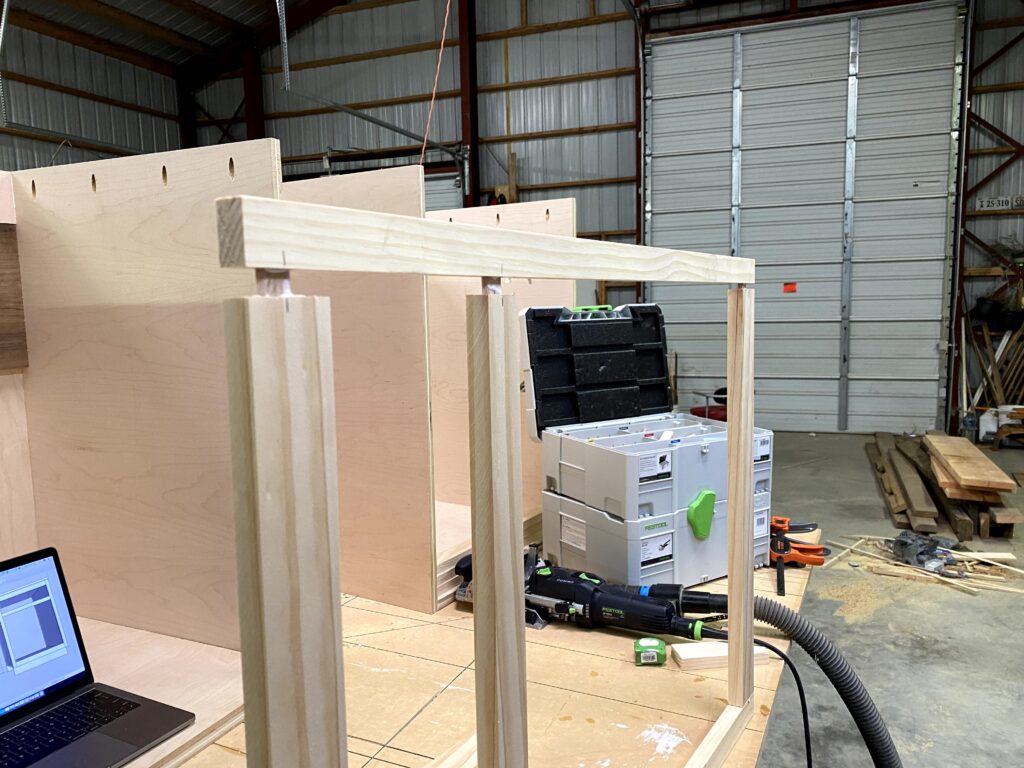
loose tenon construction 
set aside let glue dry and clean up 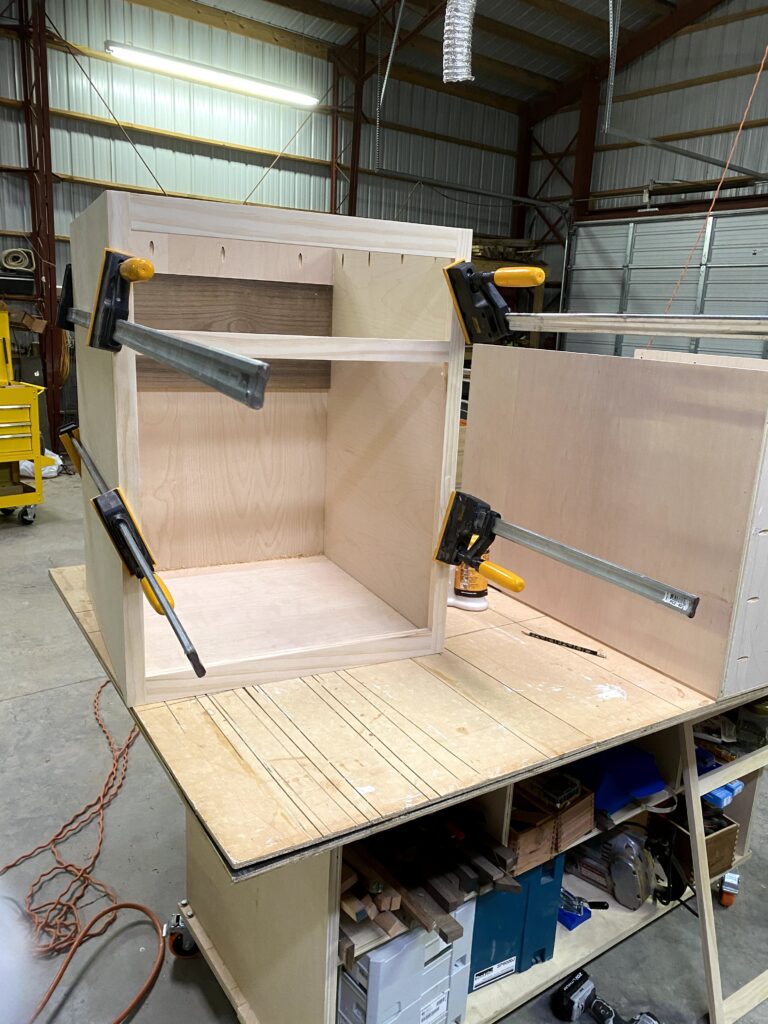
glue face frame to cabinet 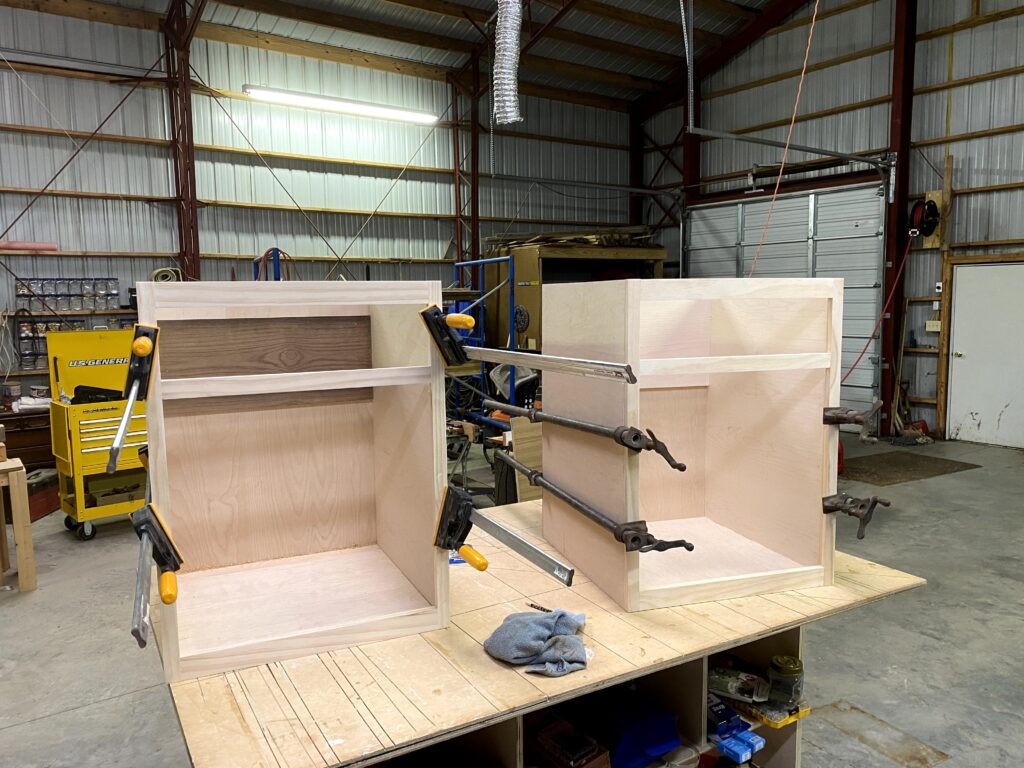
same for both cabinets 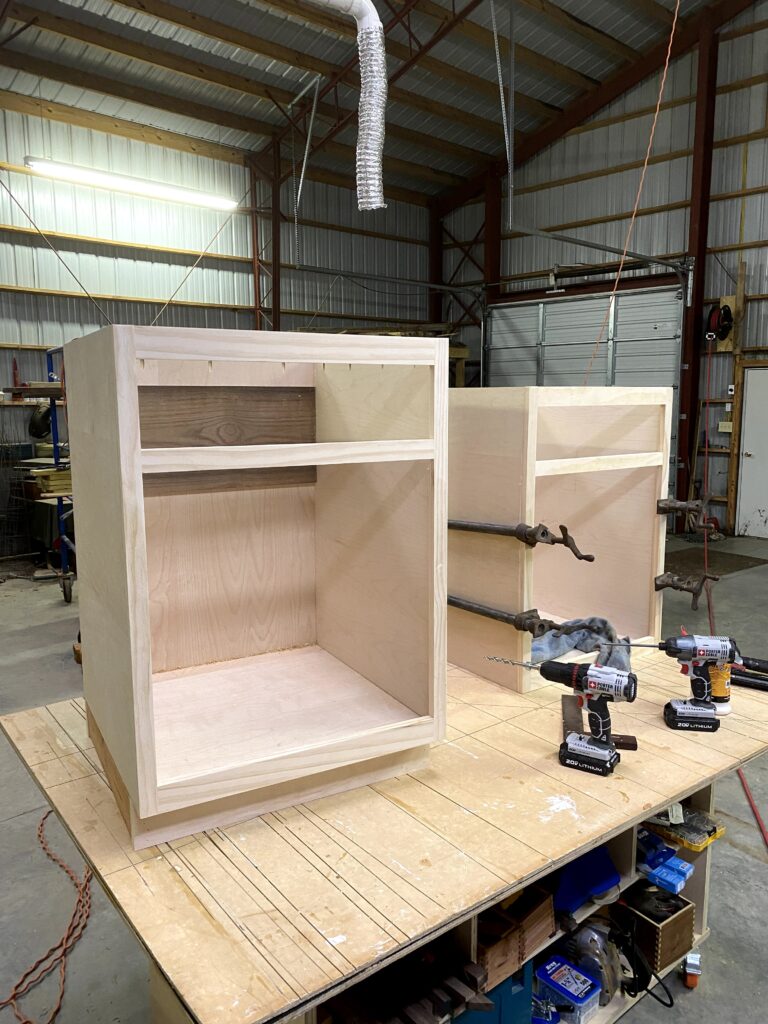
don’t forget that the cabinets are different sizes 
drawer construction 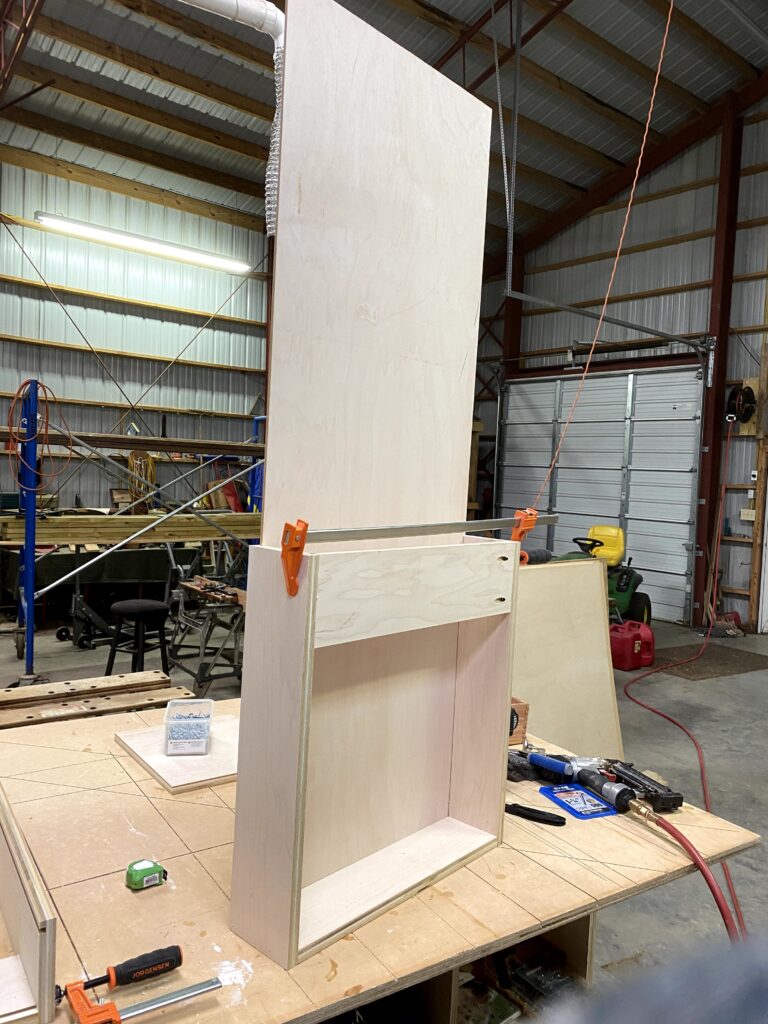
slide in the bottom 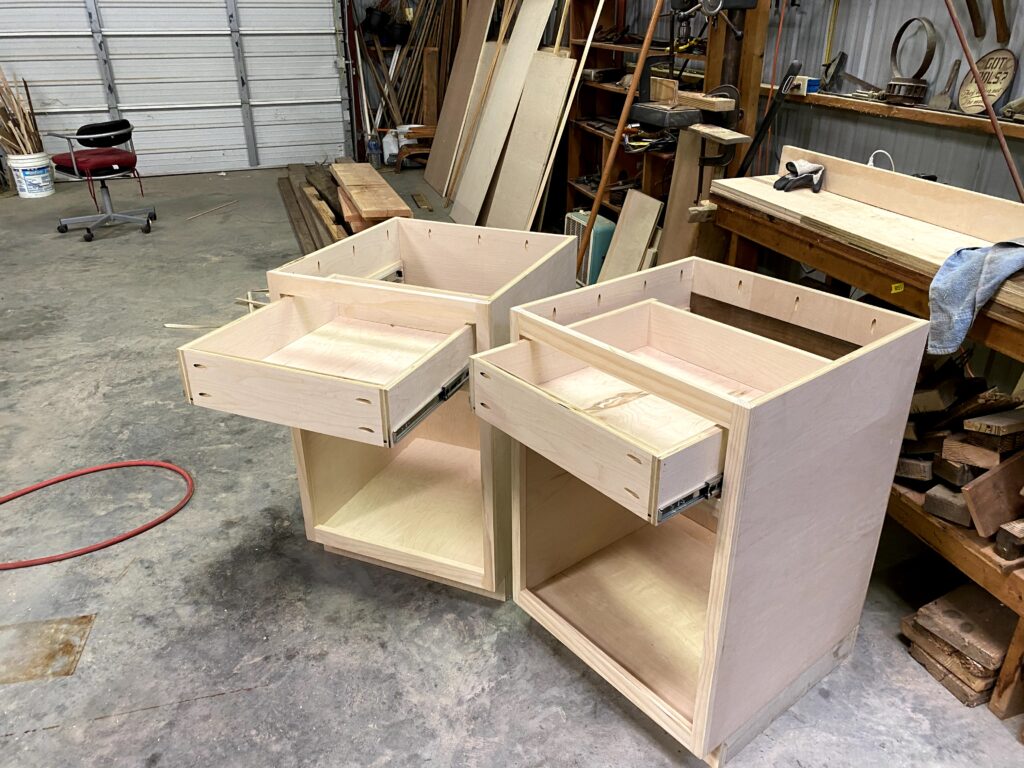
attach hardware and insert drawers 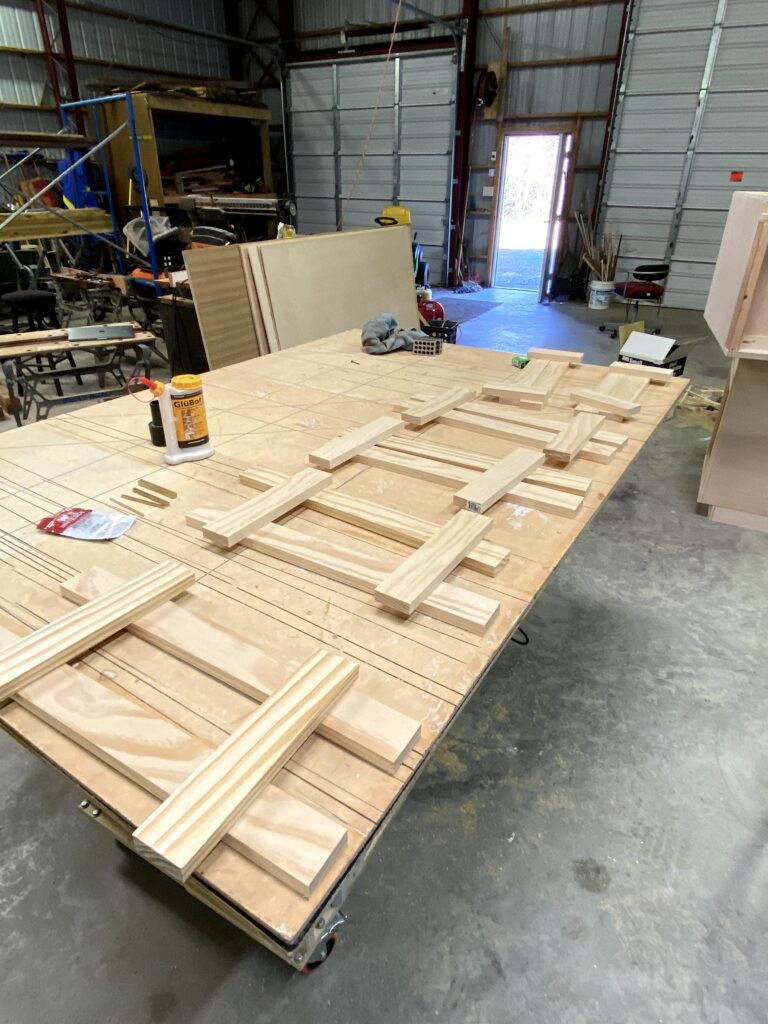
drawer face 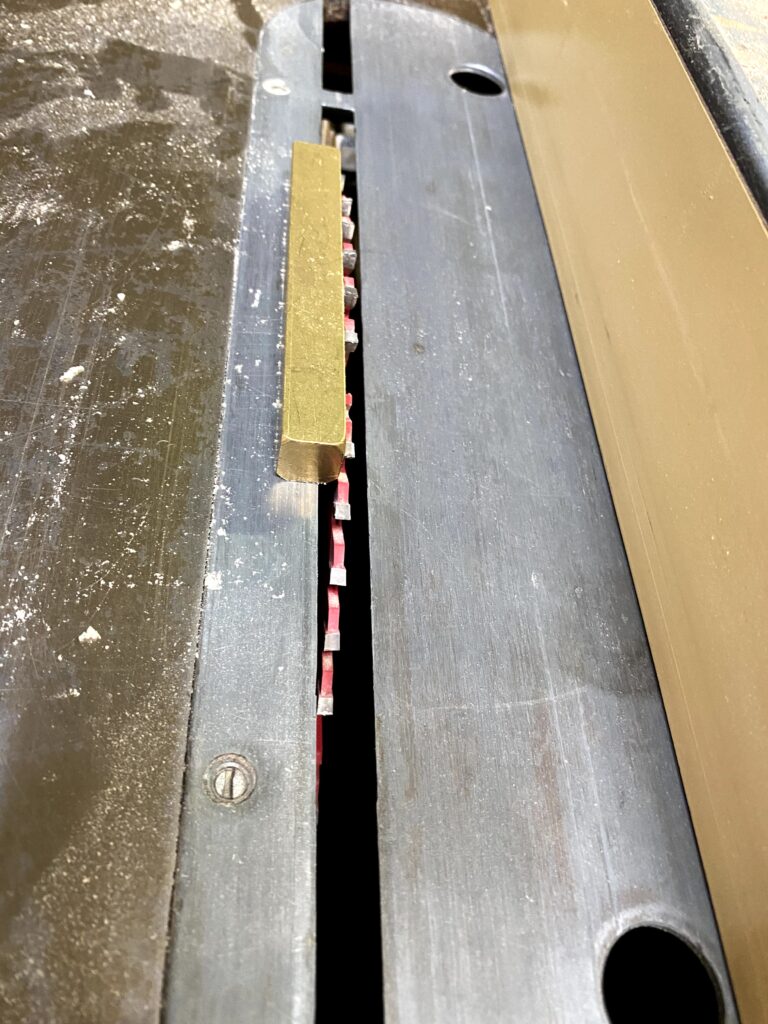
set blade height with set up block 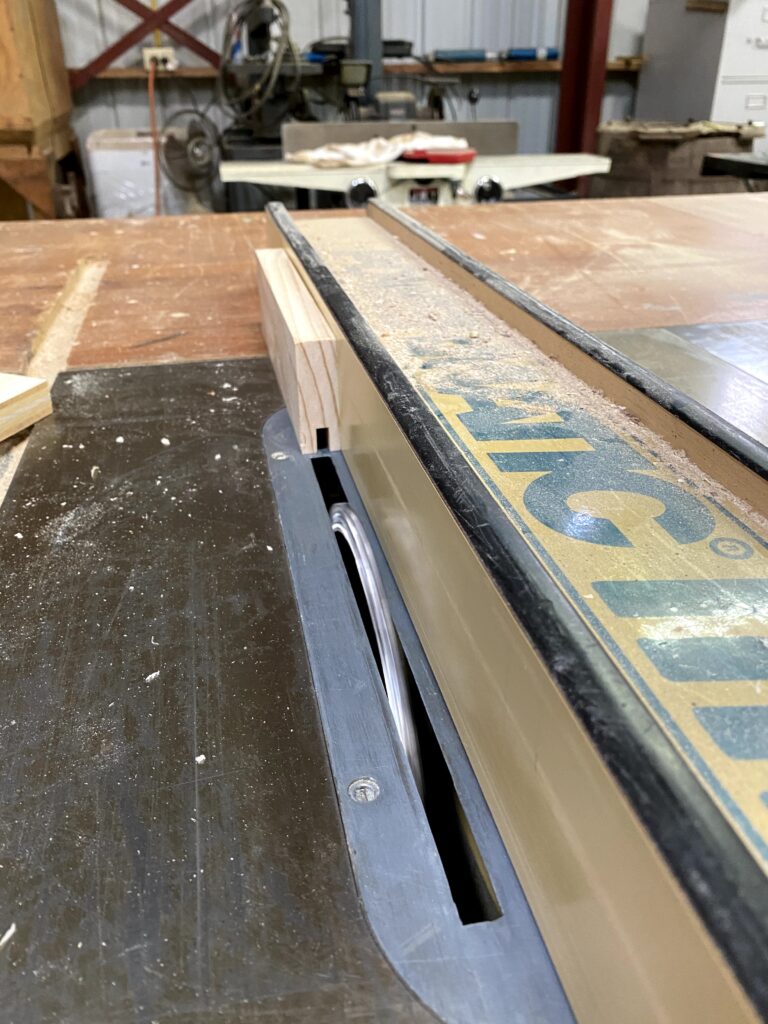
cut slot for drawer panel 
that a lot of slots 
make tenon for drawer 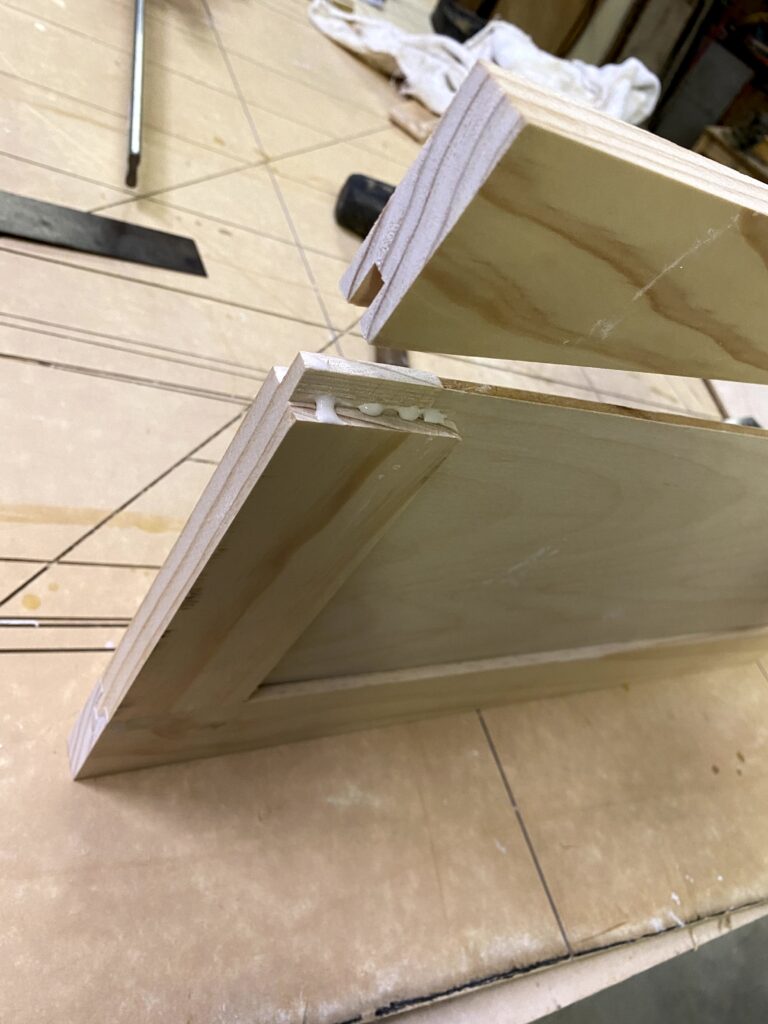
insert panel and glue up 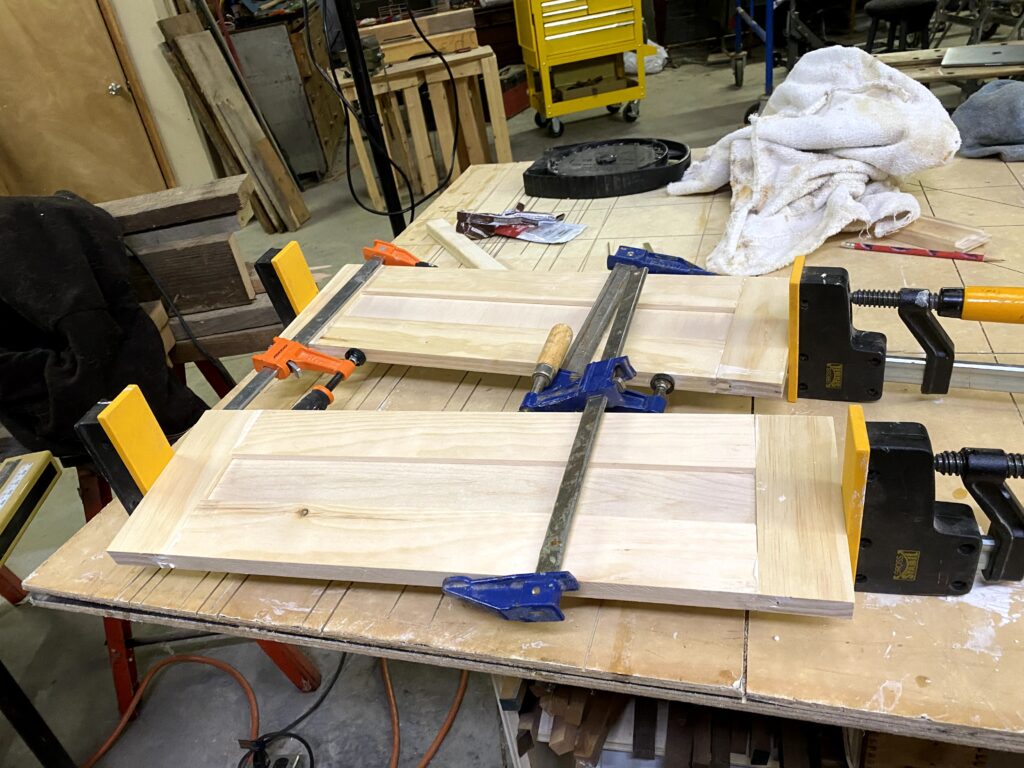
clamp it down wait and clean up 
same process for door fronts 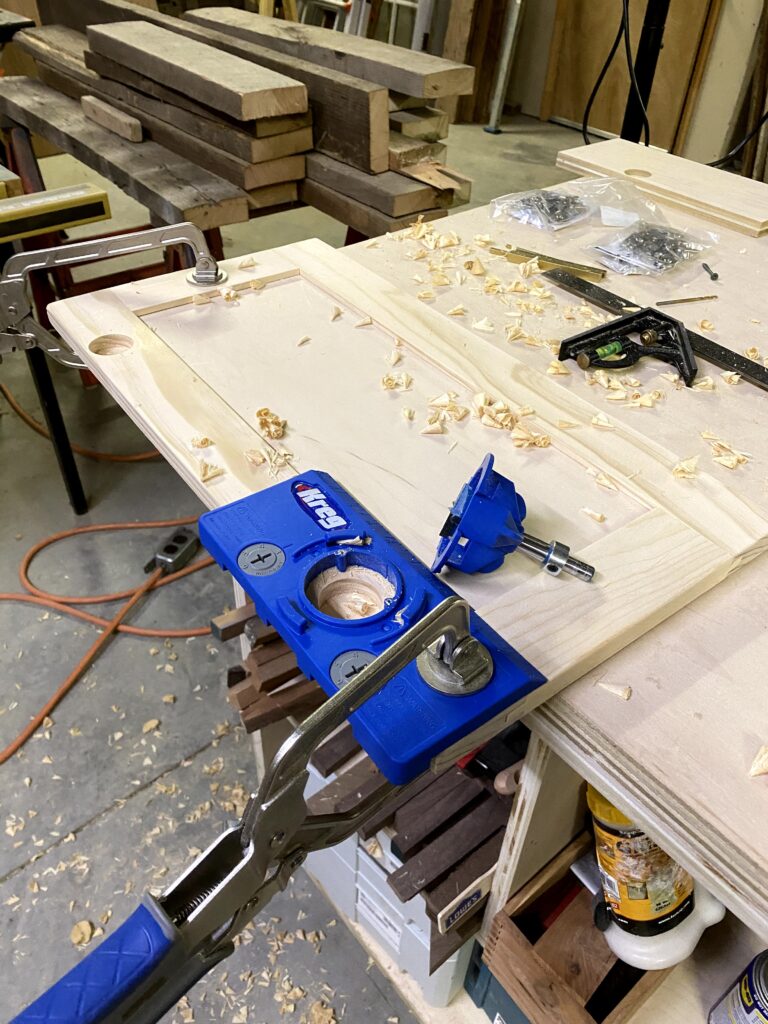
hole the cabinet hardware 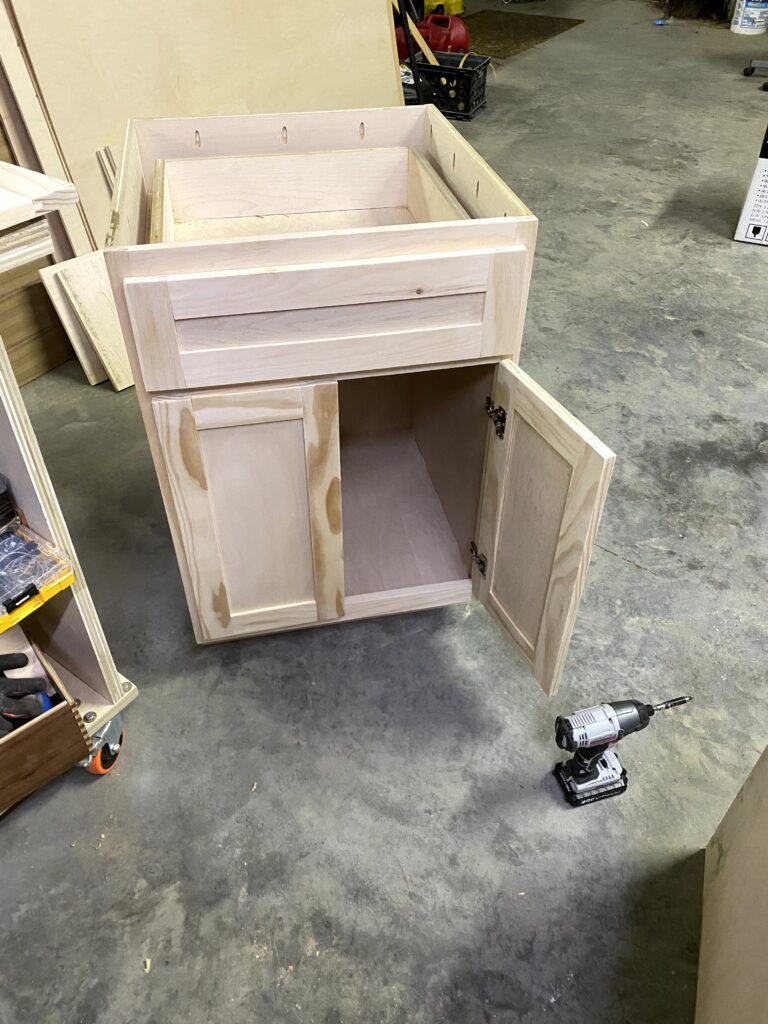
attach the doors 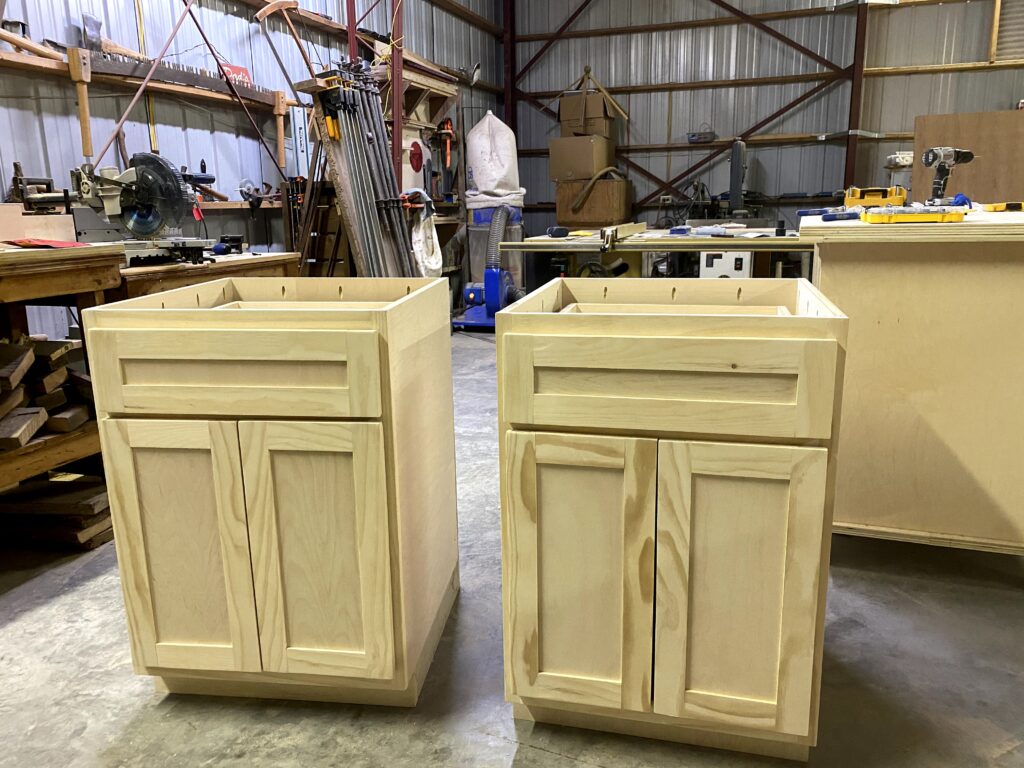
take a bow
Making of the upper shelves:
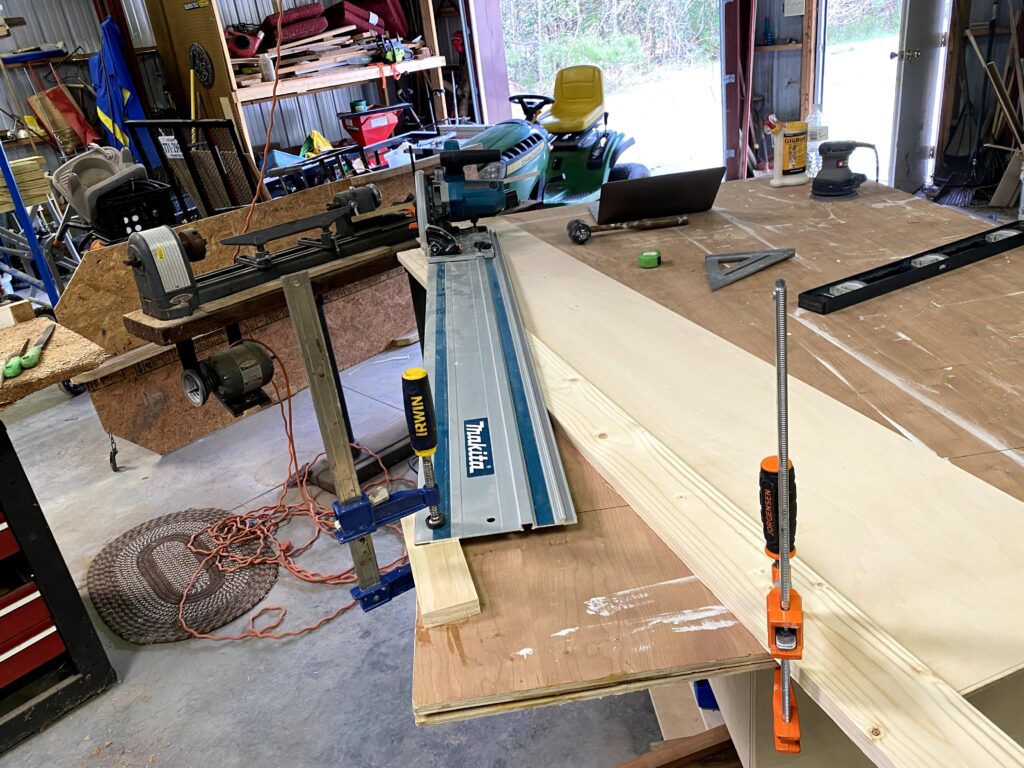
use track saw to cut the angles 
and the other angle 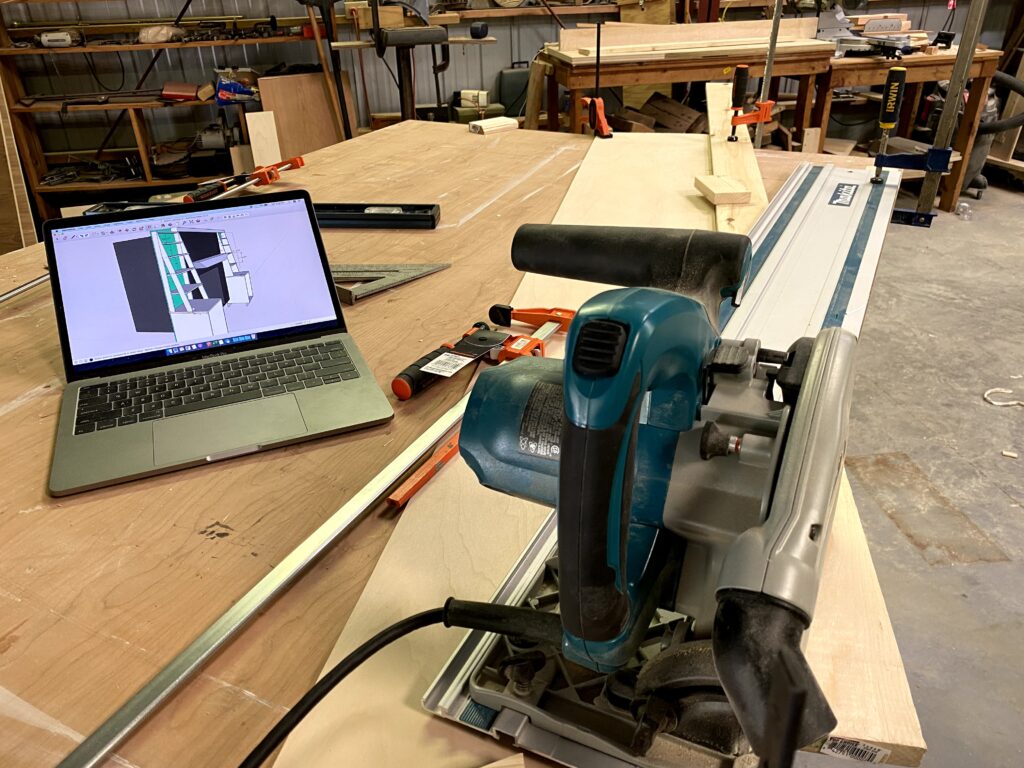
yay, now to join them 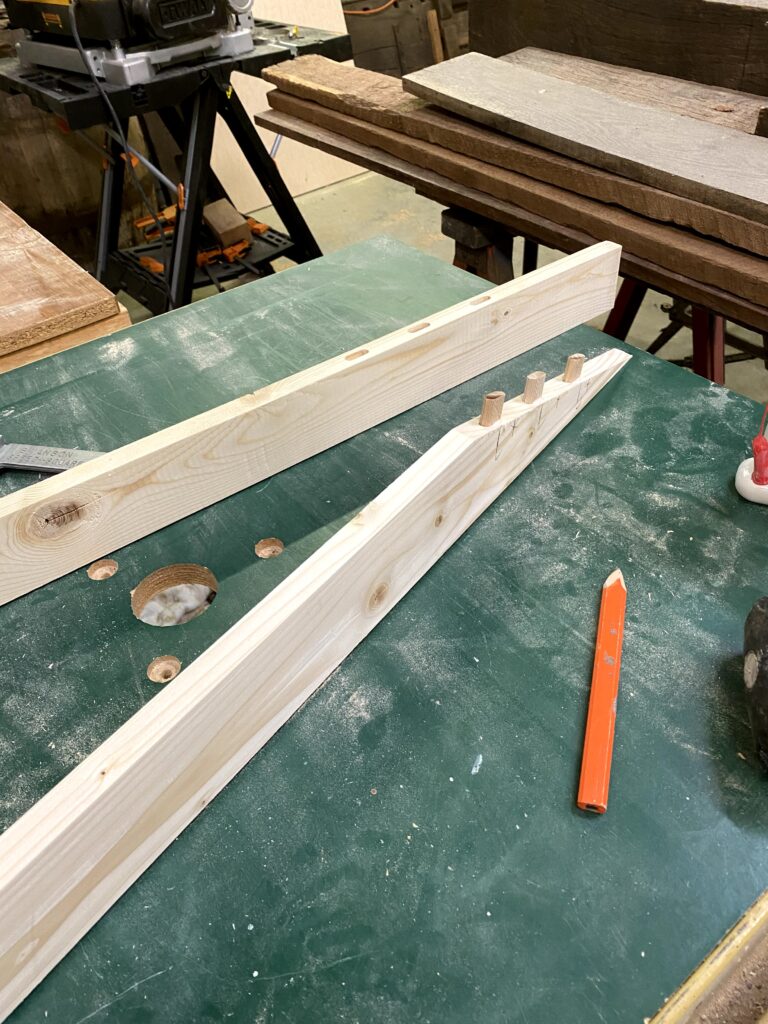
loose tenons 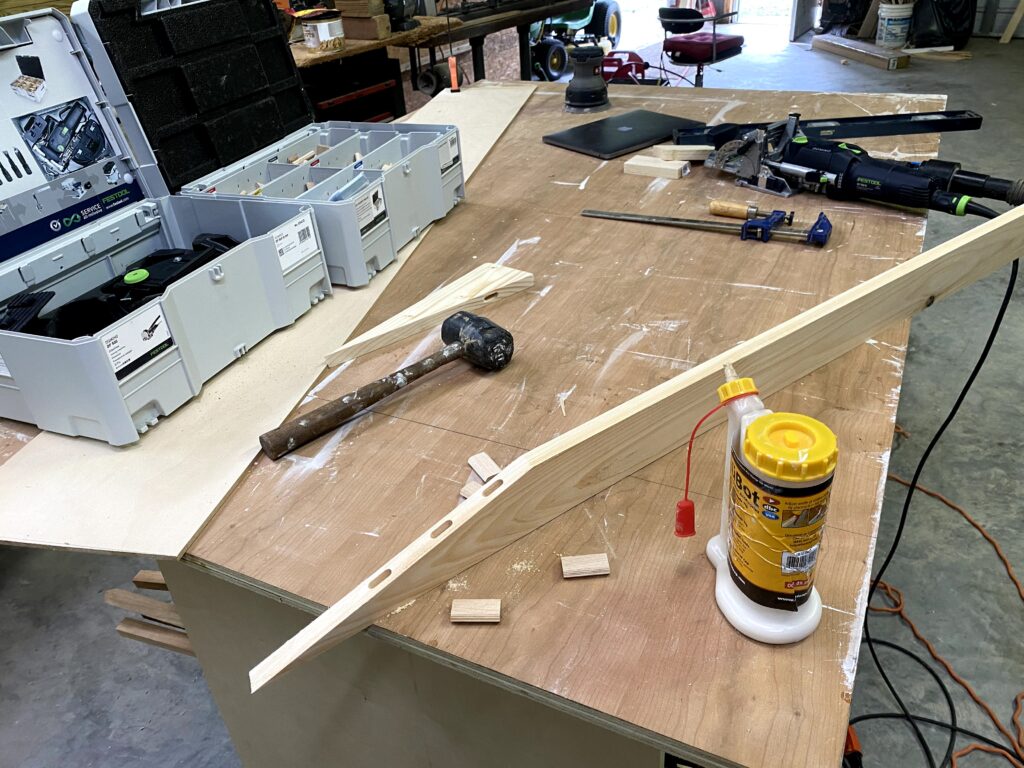
got domino? 
pocket screws for the shelving 
and its all square 
kristi the packing guru 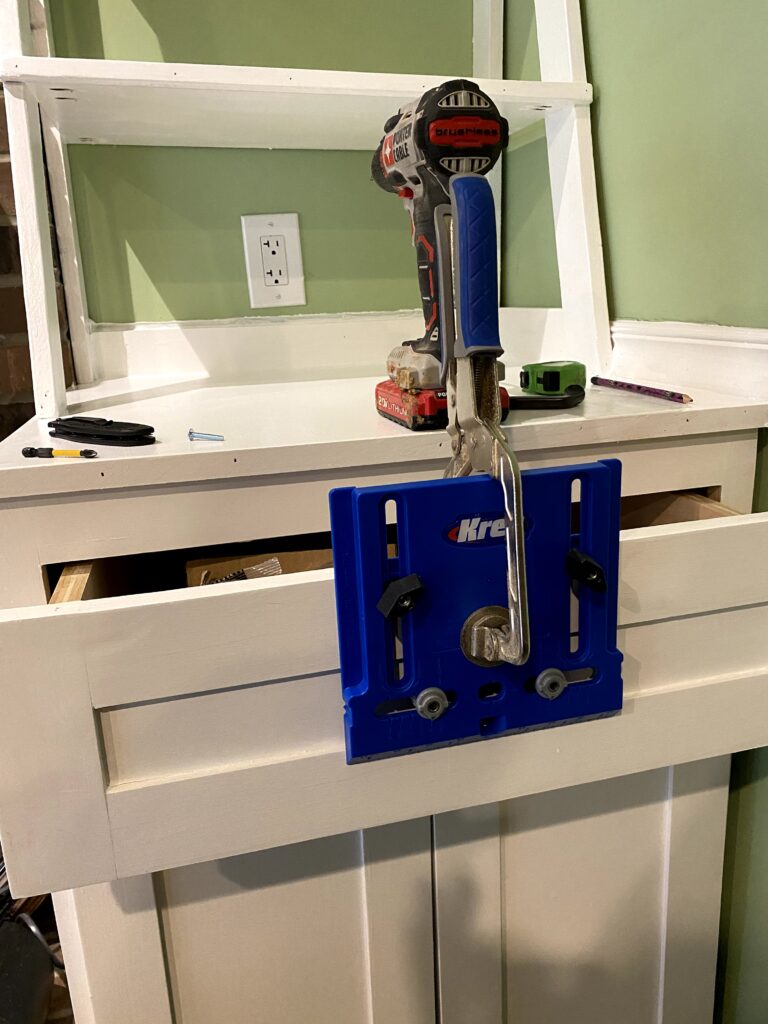
installing drawer pulls during home install note the paint
Thanks for viewing!


Leave a comment