One of my most popular builds! This coat or hat rack features arms that fold up when not in use, it’s pretty neat and gets a lot of comments when people first use it. I made my first one more out of necessity, I run a dojo and my students needed a place to hang coats. Wanting something to stand out I chose this design and all the students loved it. Since then I have made a few others when pressed, you see, they are a real pain to make, seemingly impossible to keep from twisting.
This build however was different, with my new shop and a bit more experience and a 1/32 larger drill bit these were delivered without any twist. I must thank my father in law for the odd ball sized bit. You understand, a bit that is 3/8 plus 1/32 is a game changer (leave a comment if you are yelling out that fraction). I chose not to worry about the math, but to instead do a test fit and it worked, so I went with it.
My friend, Dena, wanted her coat rack to be made from reclaimed lumber, I think she saw my FB post where I picked a barn a month back. I found 3 boards that where suitable and and pulled out the nail then milled to get square. I included the milling process in the photo gallery below, it’s a time consuming process.
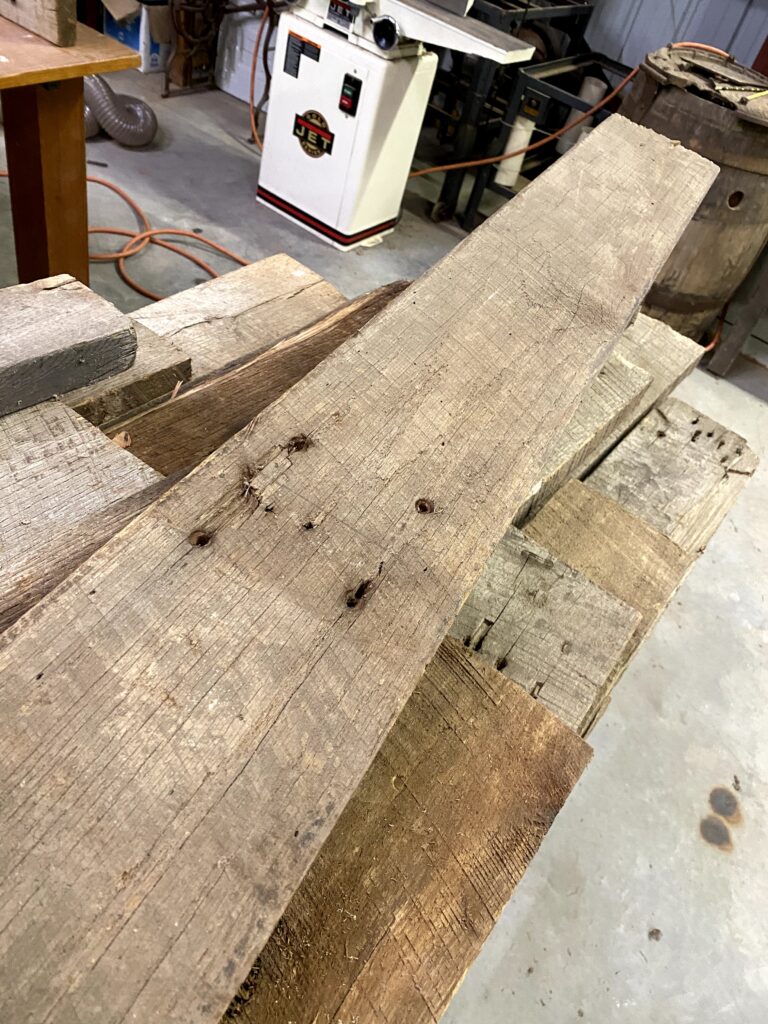
barn wood minus the nails 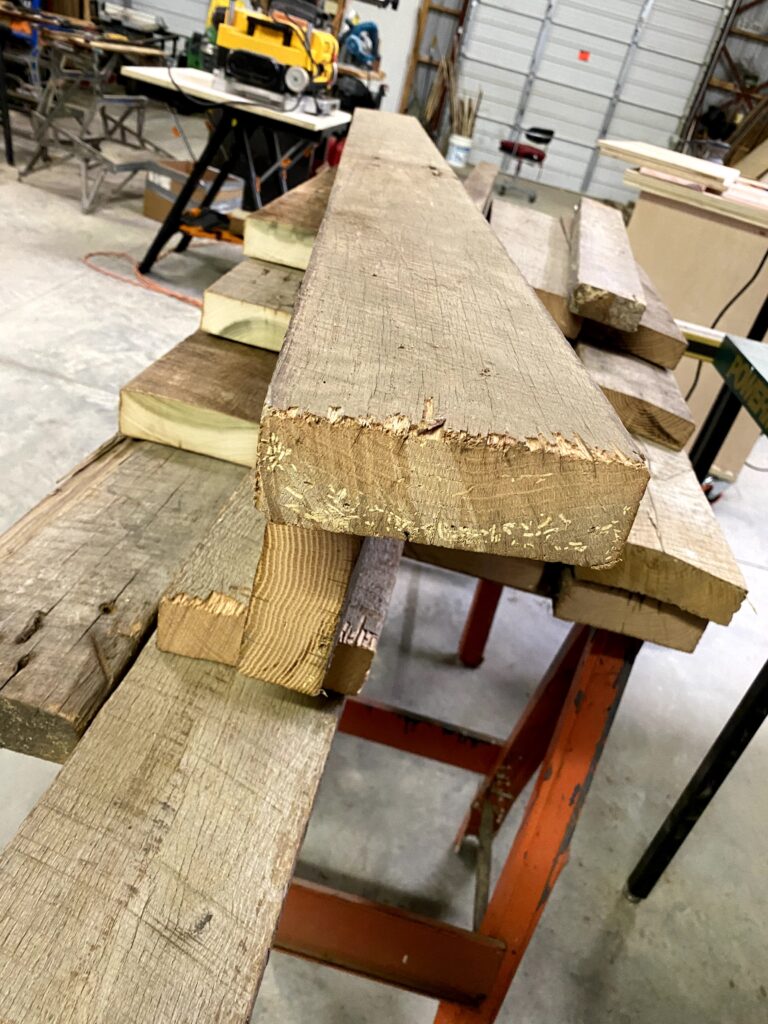
red oak 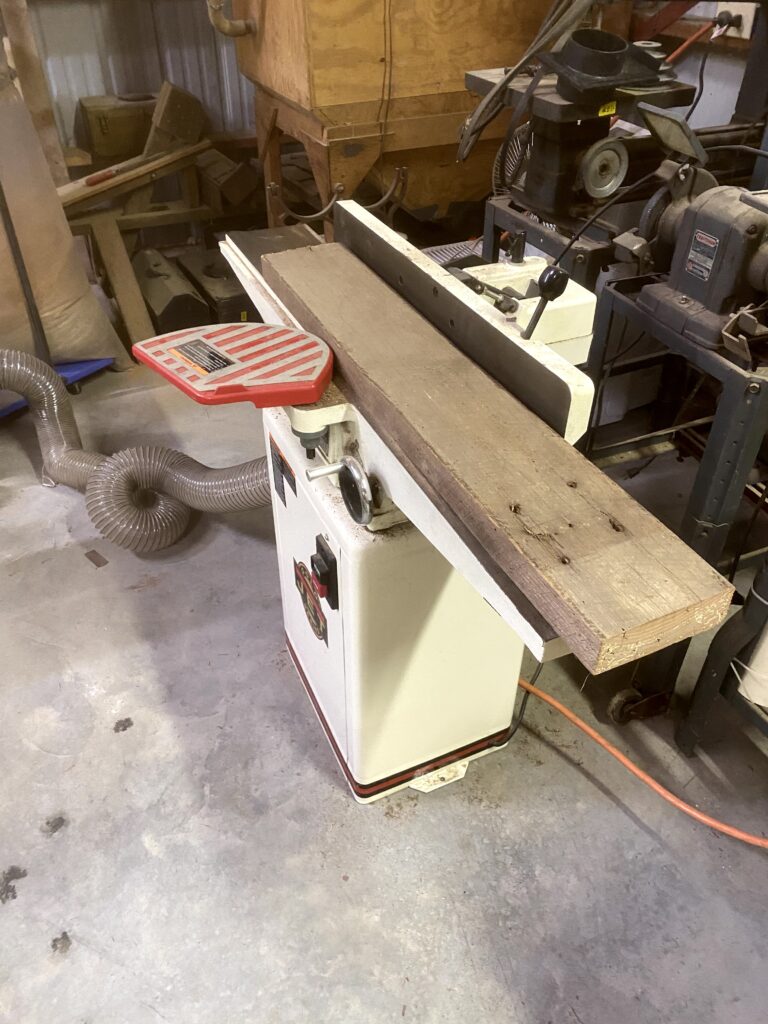
flattening the board face 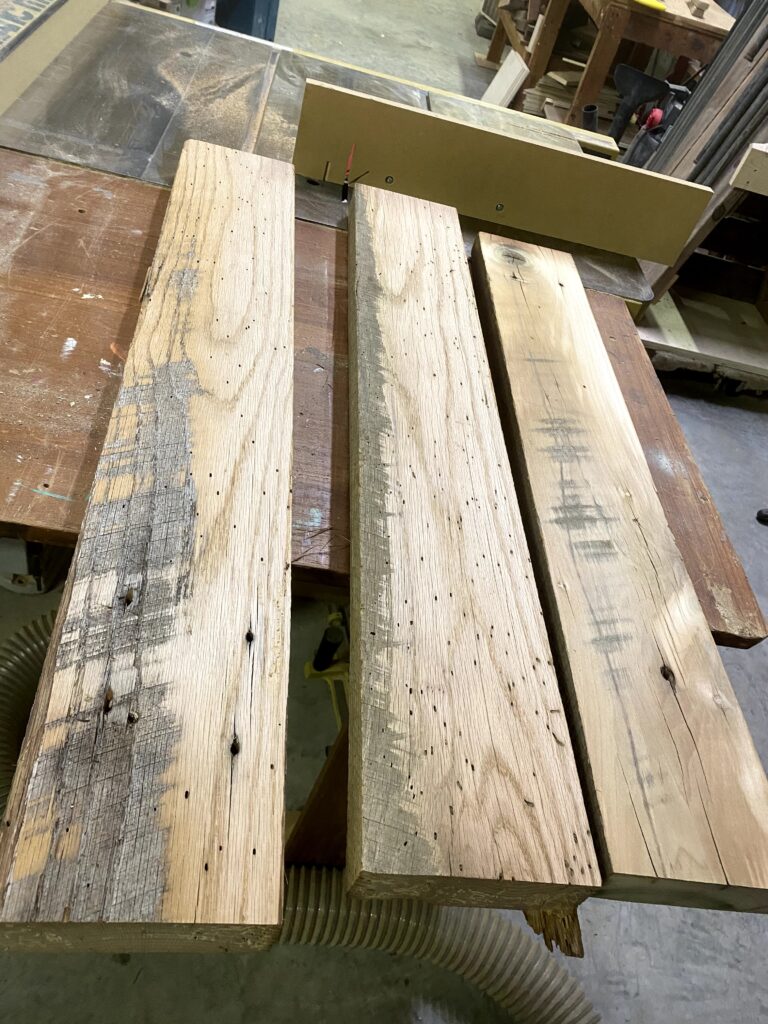
the 3 boards after running over jointer 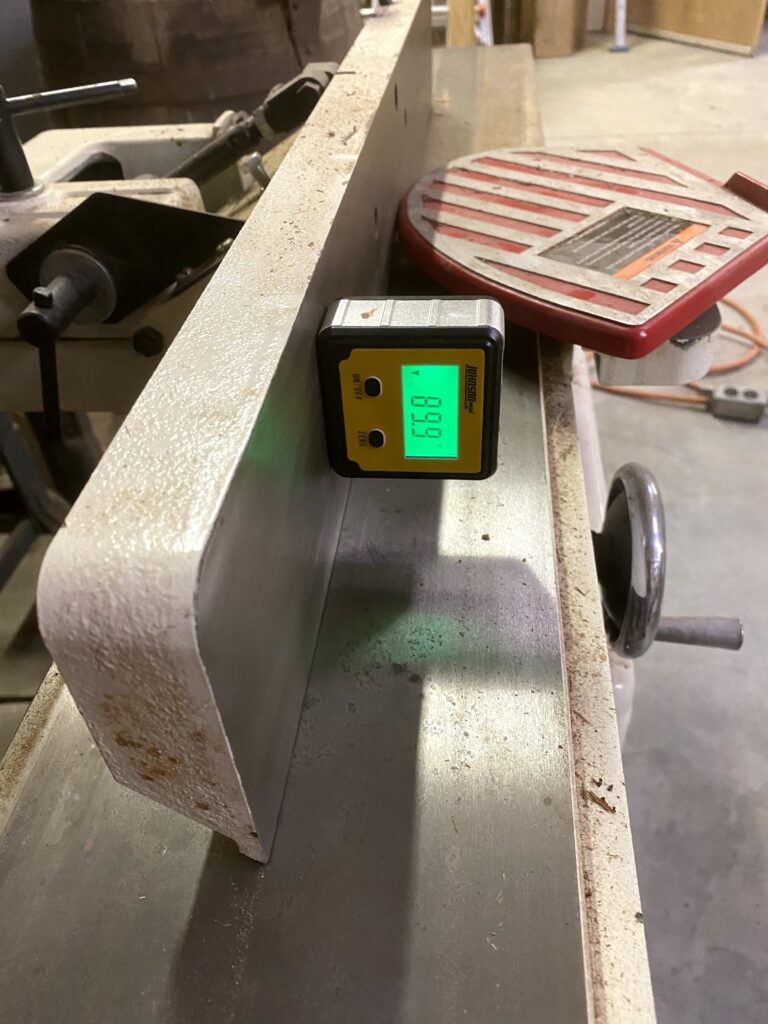
double check for squareness 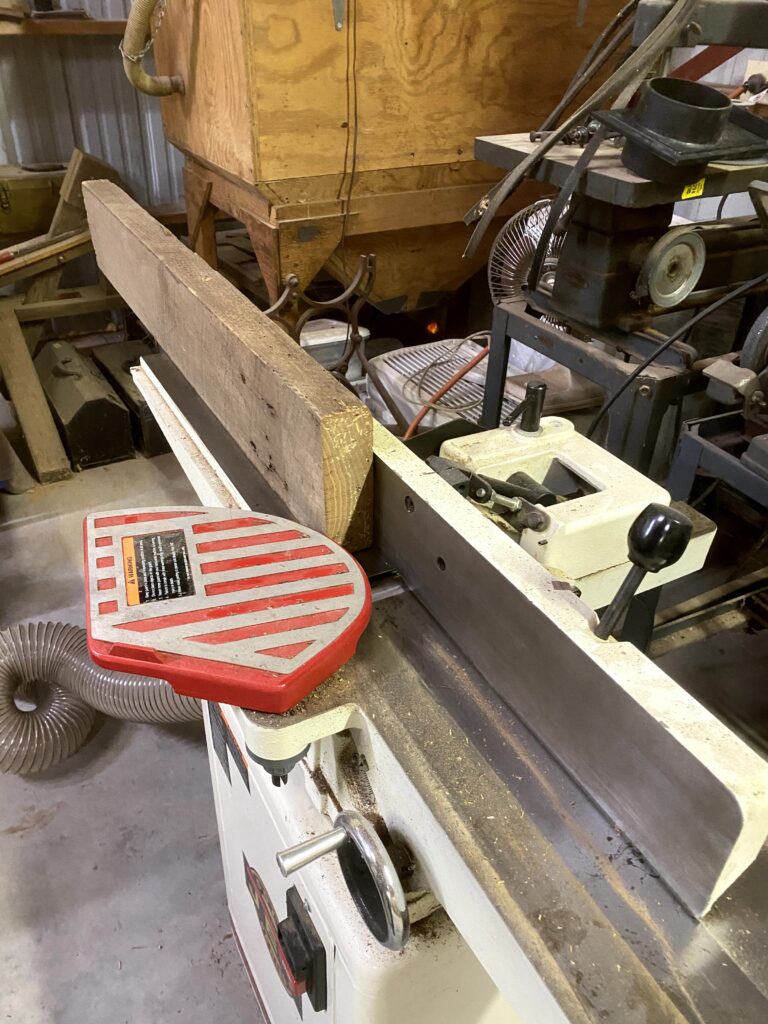
pressing the jointed face to the fence, will square an edge 
the face and sides are now square 
keeping the jointed side against the saws fence parallels the other side 
run jointed face down and the planer will square up the top
After the above process is done, one can start the actual build. I first cut the fingers to width and made the 45 degree cuts. I used a miter saw with a stop to get the needed repeatable cuts. Now onto the blanks (the piece that spaces the jackets apart and does not rotate). Using the table saw, I placed the fence exactly 2 widths away from the blade, then clamped a blank to the fence, to make the cut. This allows for repeatable cuts that are the same width. Keeping the cuts in order is important, if you want the finished product to have the grains all line up (a mistake I made in the one at the dojo and I bet your going to look closer next time your there).
Next comes the most important step, drilling at the exact location, to achieve this I made a stop block on the drill press and it all went pretty smooth. It’s important to have good music during this step and Santana delivered. Listing to The Cars, I drive a 3/8 dowel through the entire thing. Next step? Sand, man, sand (Metallica). Then finish with a mixture of mineral oil and beeswax and the Bee G’s really brought it home
The final step is to deliver, install and take a photo of Dena’s happy kids who now have a place to hang their hat, jacket or scarf.
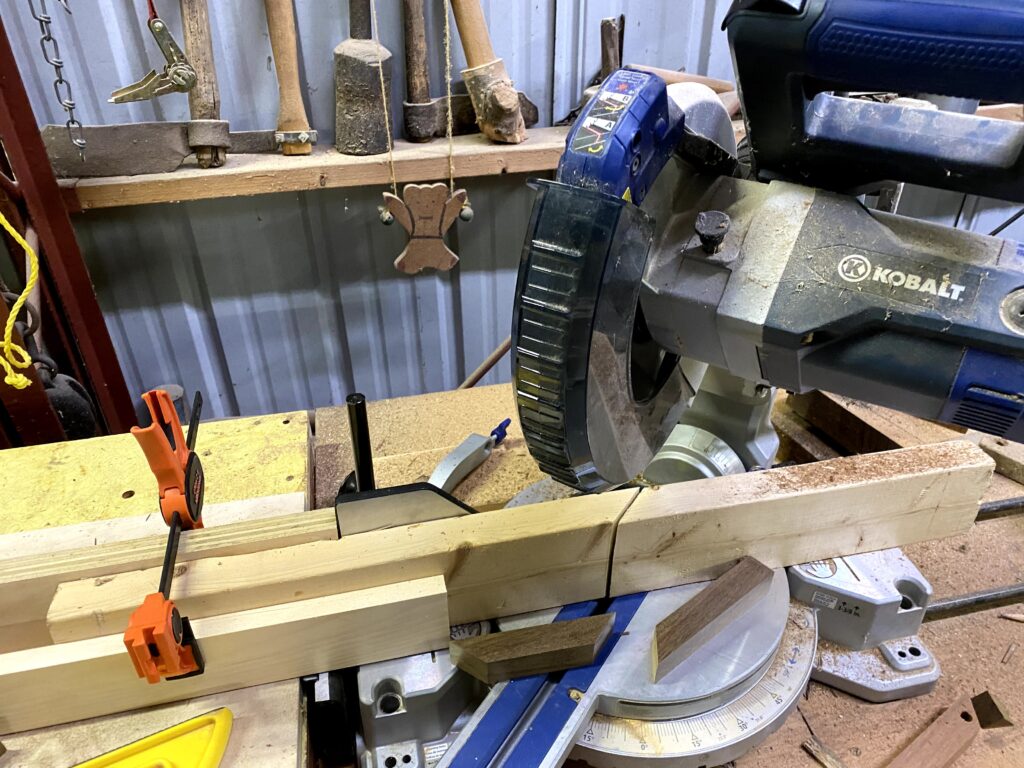
cutting the fingers 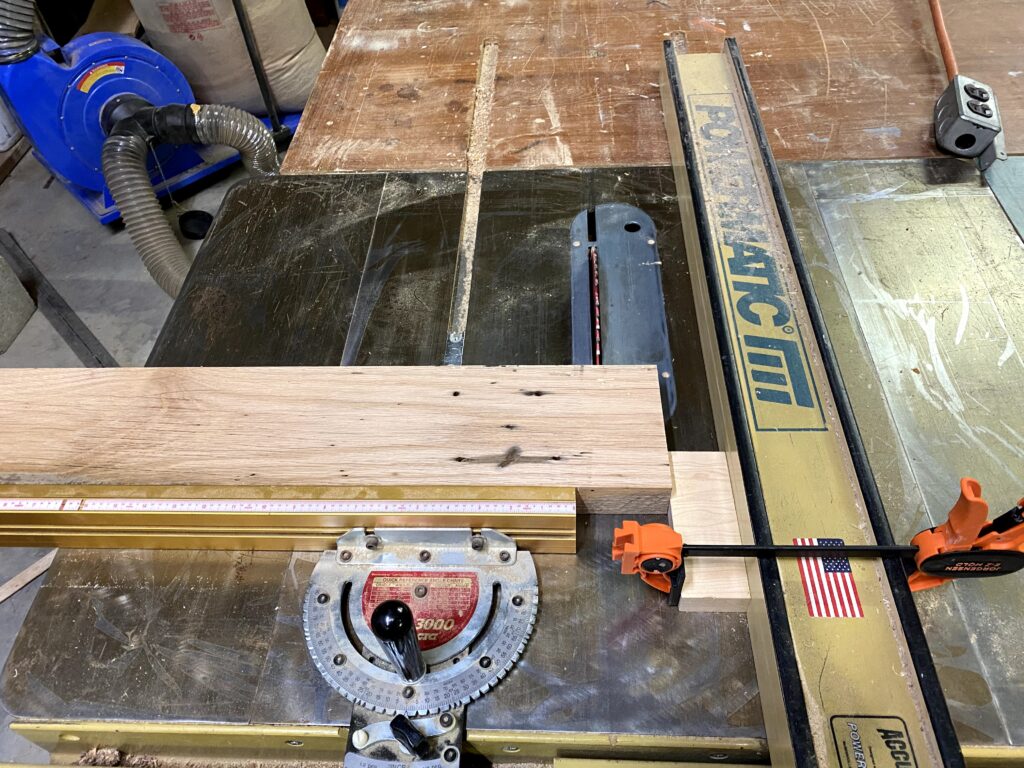
cutting the blank spacers 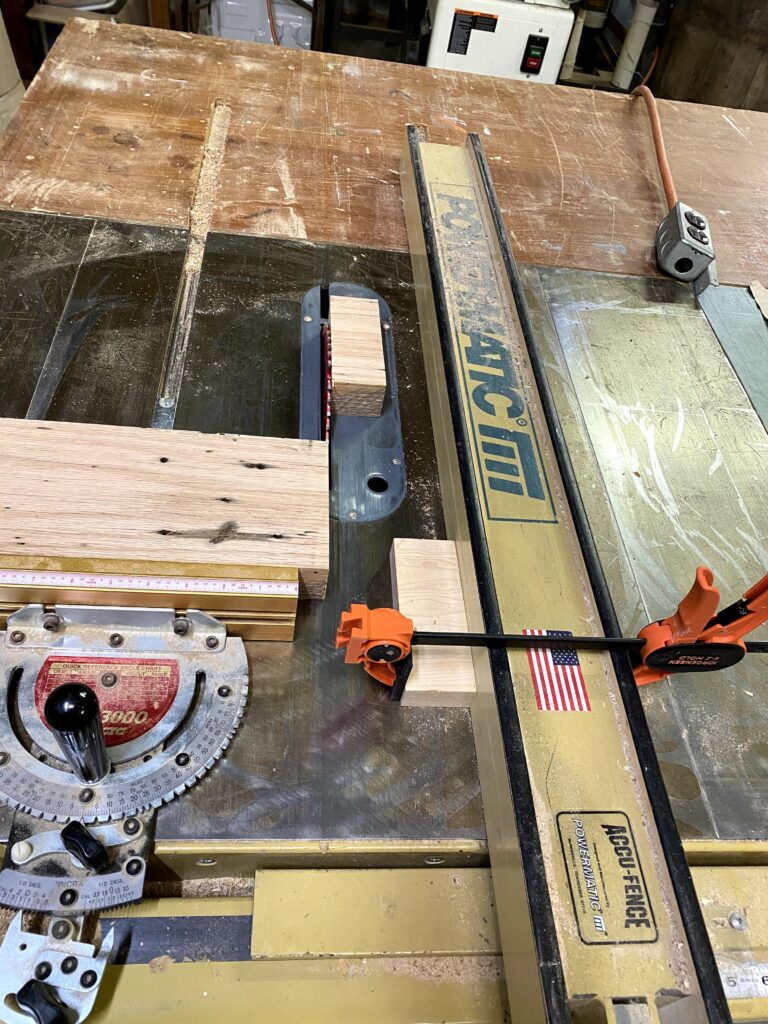
love this saw 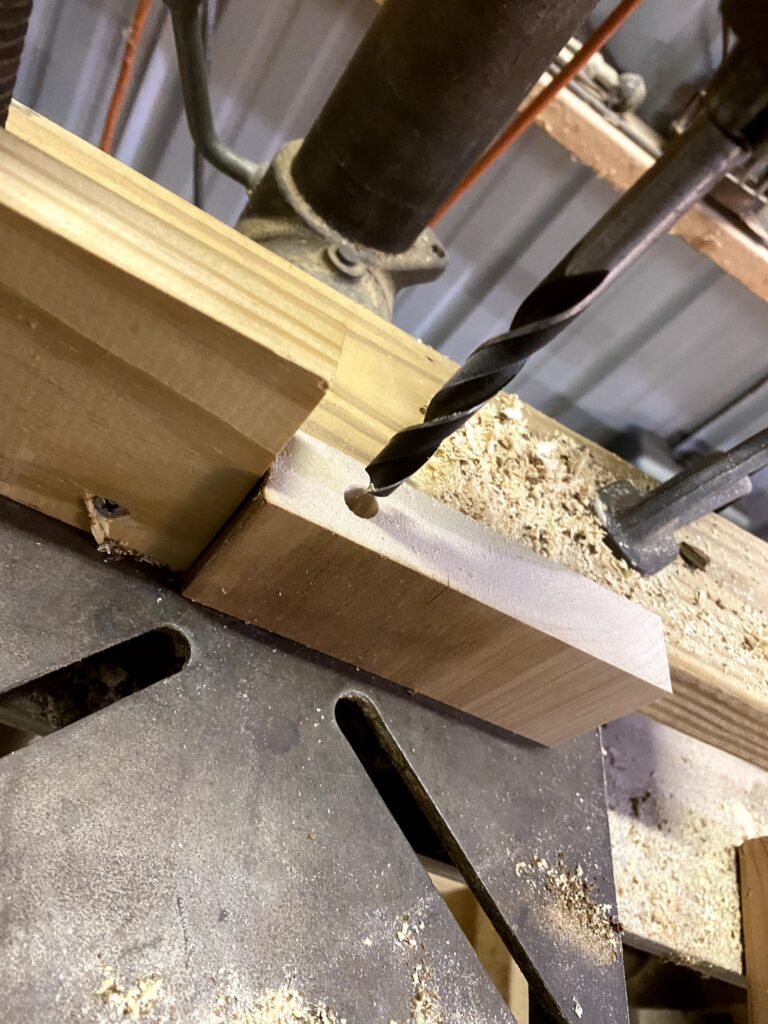
stop blocks makes for repeatable hole locations 
notice the upside broom 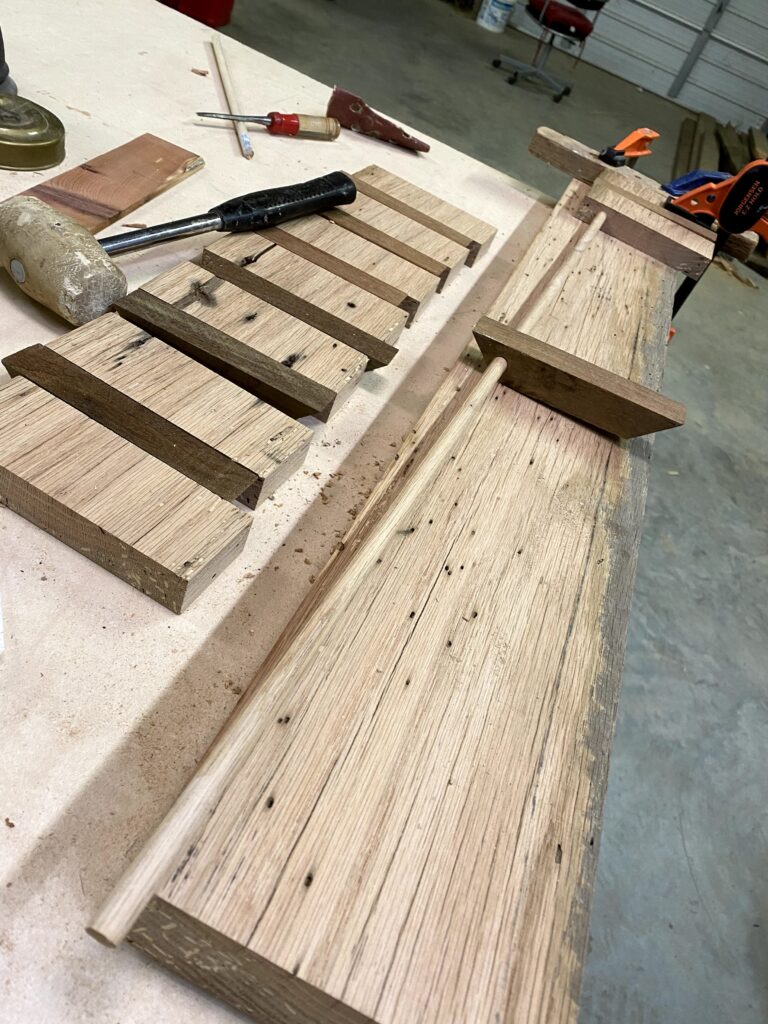
driving the pieces onto the dowel 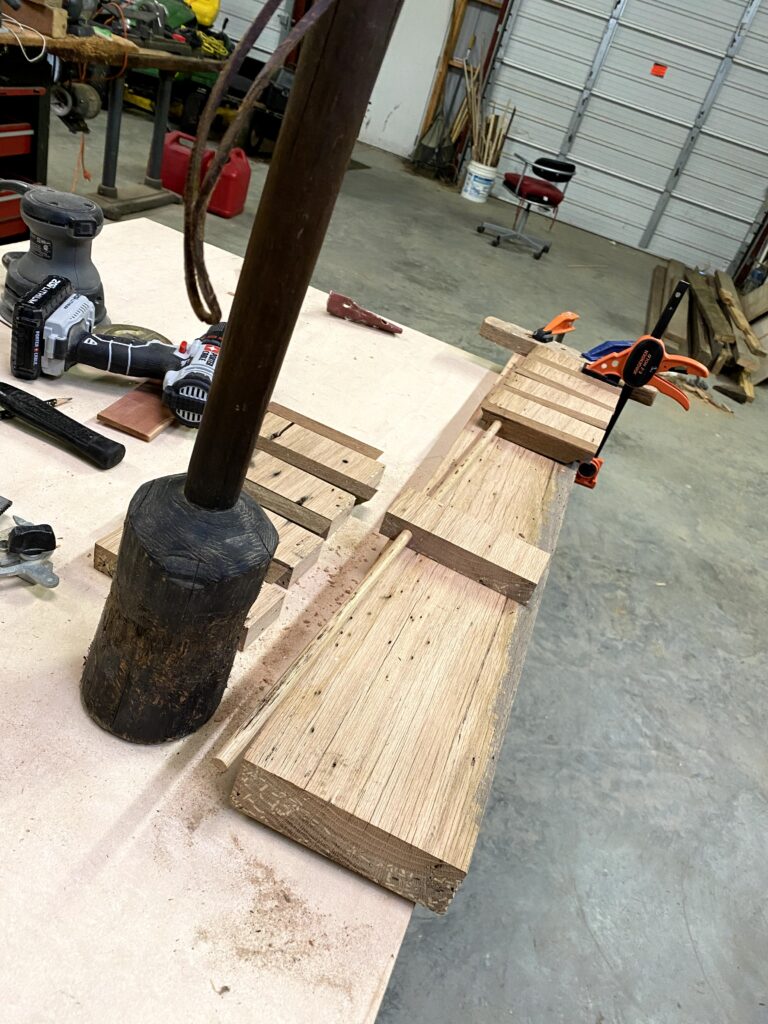
pulled out this awesome mallet 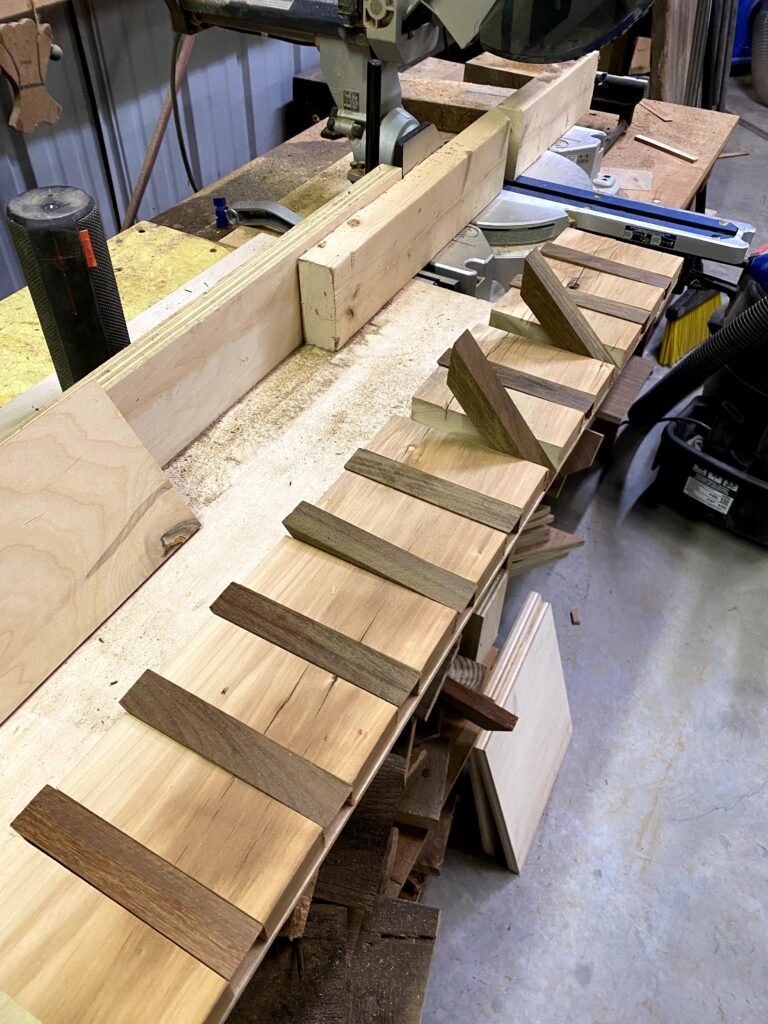

the cherry in the back has nothing to do with this build, stay tuned 
27 inch and 33 inch 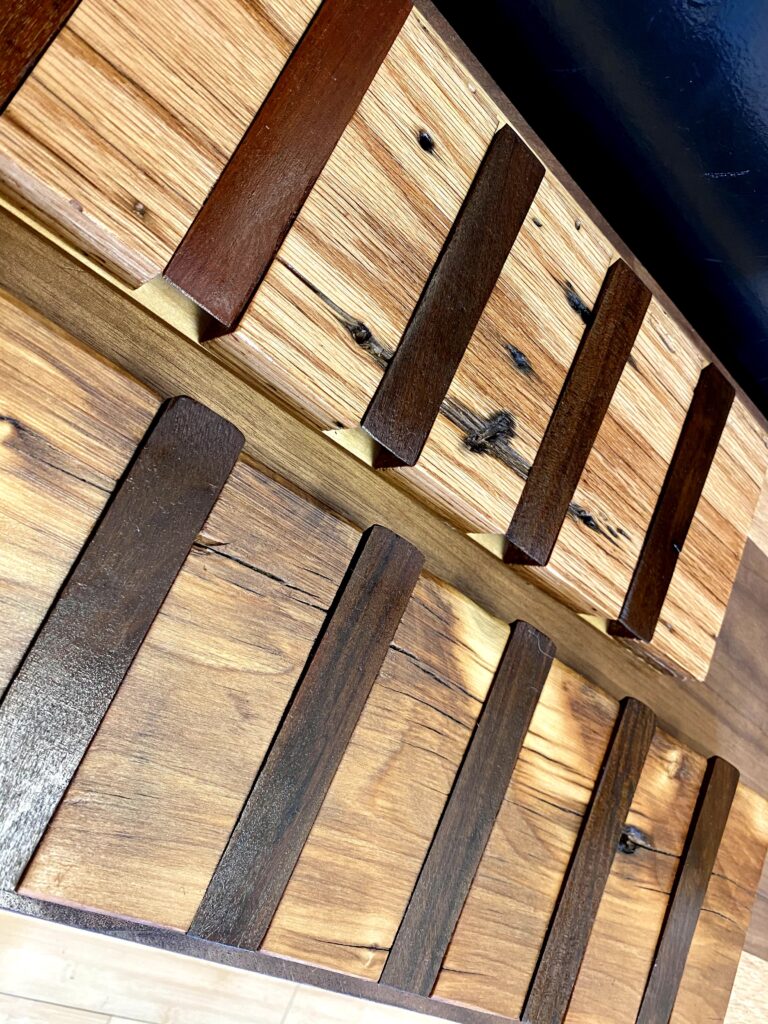
see the nail holes? there a pain to remove 
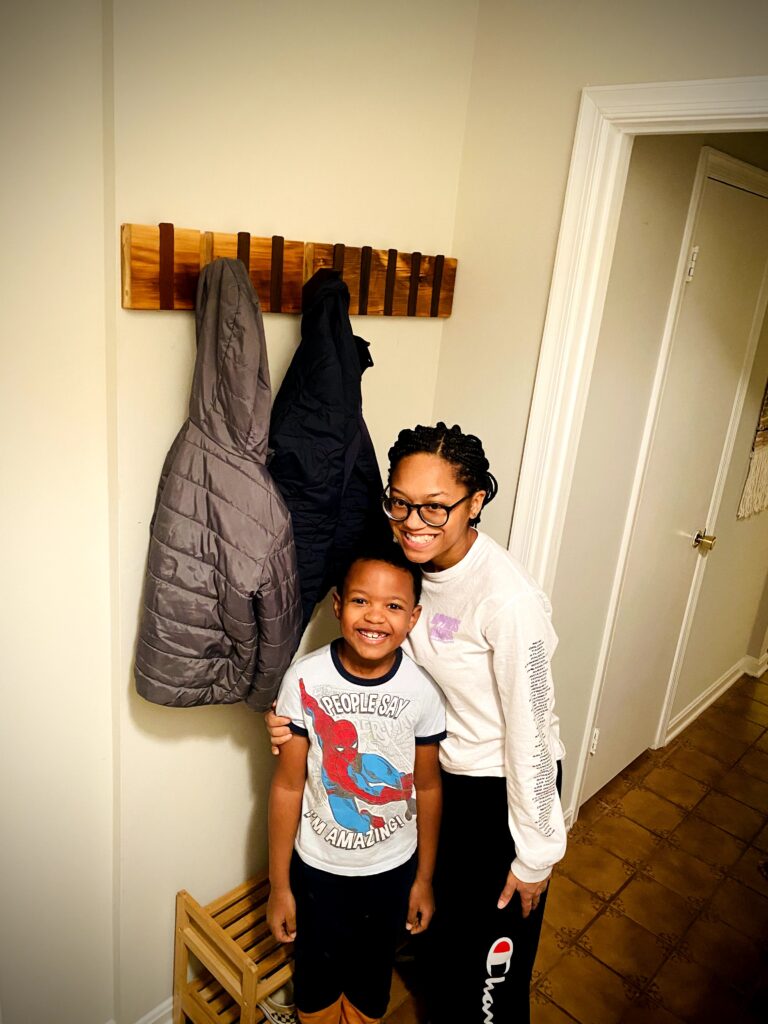
happy people, now to design a bench


Leave a comment