How this table came to be?

I received a chat message from someone who had met Kristi and I during one of our neighborhoods home and garden tours. I often open up my woodworking shop to show people around (I love showing off my woodworking shop) Anyway; a lil over a year after our meeting, they contacted me and needed a custom piece made. They wanted a 3 sided table to fit snugly over a soft ottoman, and mentioned it being a waterfall table, which has been in a must build bucket list for me (yes I have one).
“Waterfall”?
In this context waterfall means that all the grains of the wood flow continuously from the top and down the sides. Which requires 2 miter cuts on each side of the table where it “bends”. Sound simple? Nothing is ever simple.
The joint (the woodworking joint)
To make the joint strong something more is needed than just cutting the miters and gluing, and honestly I didn’t think I could make it. So I discussed with the clients not to do a waterfall but to make it with finger joints, but soon after getting home after our meeting, I changed my mind and decided to make it as a waterfall. Now neither joint is easy, but I have made lots of finger joints and I wanted to try something new and expand my woodworking skill set.
To make the joint strong; a slot needs to be cut inside the miter that a loose tenon could fit into, the tenon provides the strength needed to make the joint strong.

The tenons not only help with the overall strength of the joint, but helps in keeping the grain lined up, keeping it square, and flush during glue up.
Once I had figured out how to get the tenons in exactly the correct locations inside the miter joint (not a small feat) the rest was basic woodworking.
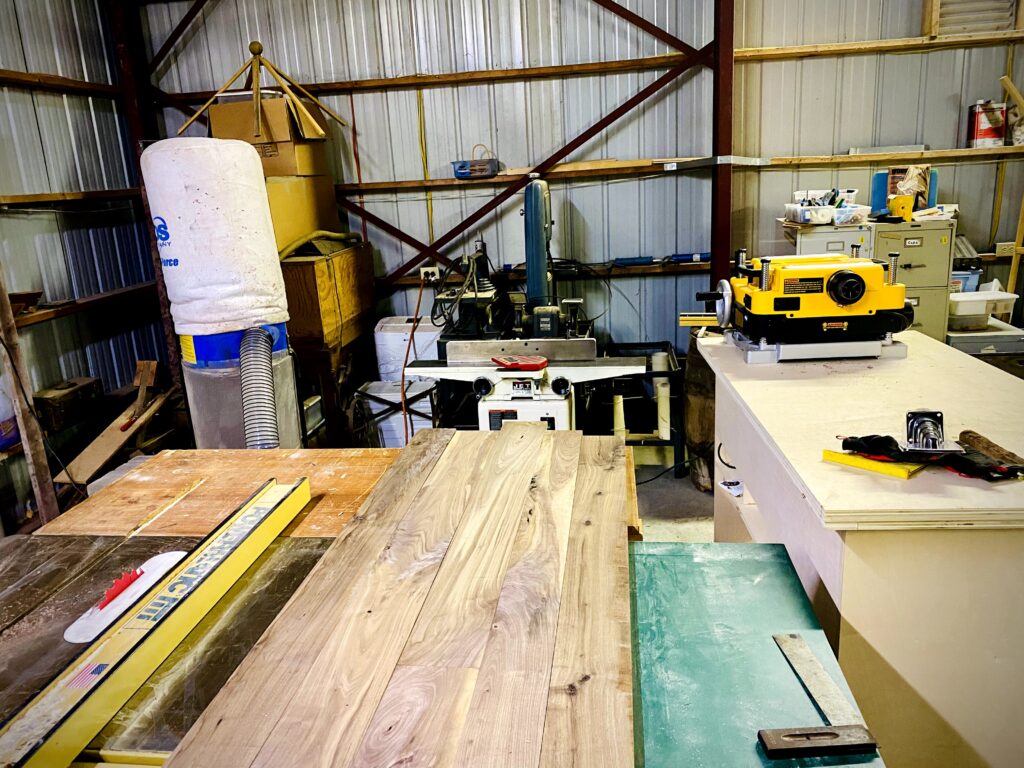
Walnut after jointing 
glue up 
dominos to line up boards 
clamped up 
saw blade set to 45.1 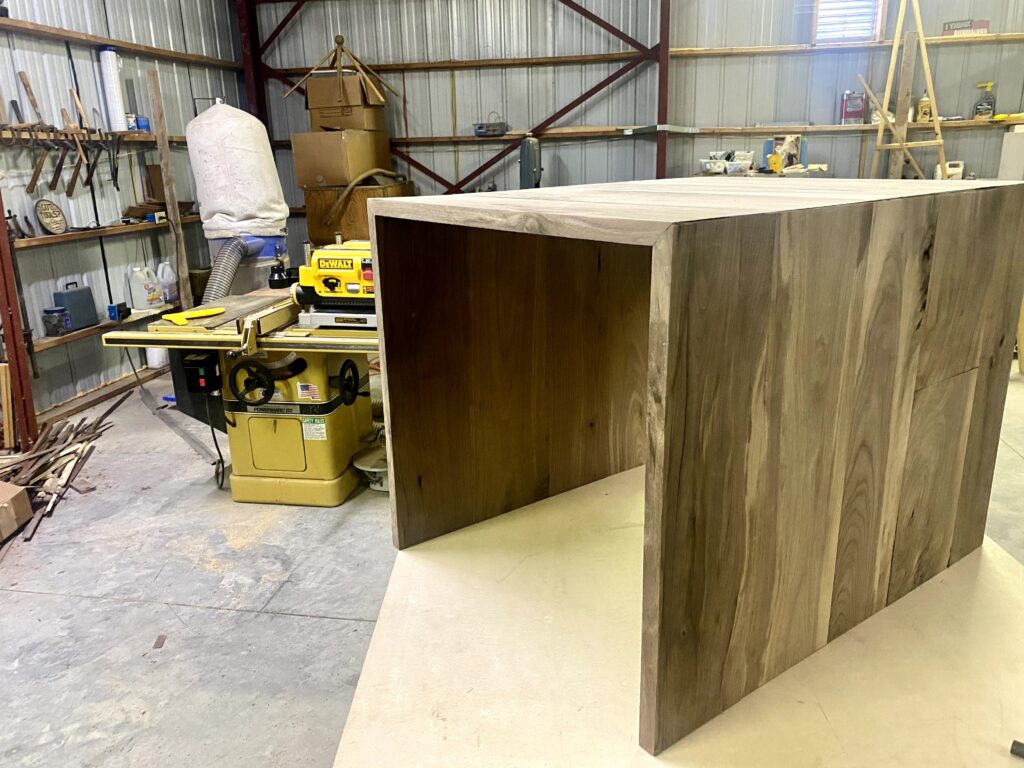

table after applying finish 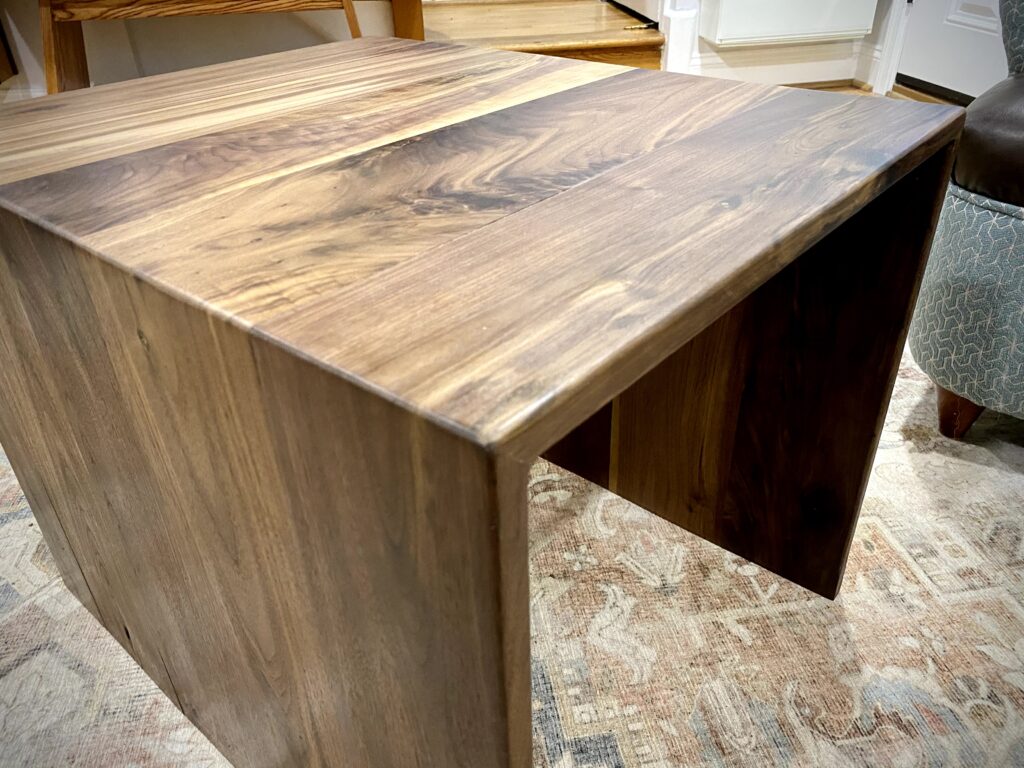
the grain flows down the sides 
Picture from client 
nice fit over the ottoman


Leave a comment